Windows Theatre Manager
 |
During a Full Install you may need to:
|
| 1. | Download the TheatreManager PC installer if you have not done so. This link is supplied upon request
|
||
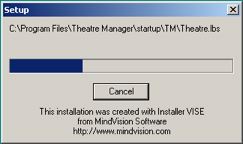
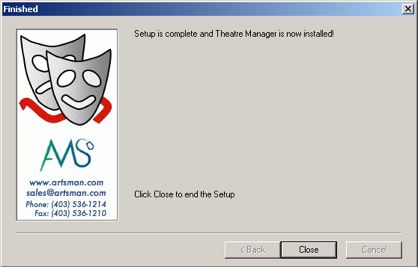
| 2. | Run the TMSetup.exe program and respond to all prompts as follows.
Click 'Next'
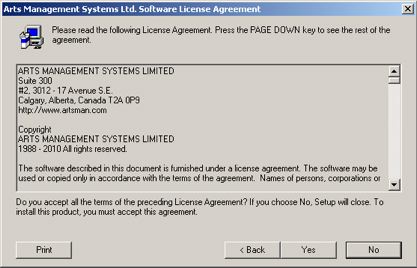
Read the licence agreement and click 'Yes' to agree to its terms and conditions
Click 'Next'
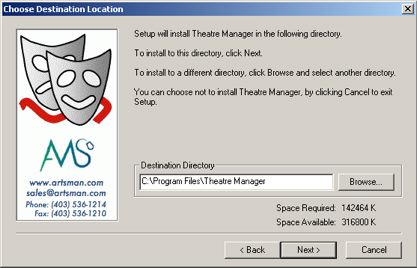
The installer will begin putting Theatre Manager into the 'C:\Program Files' folder.
Click 'Close'
|
||
| 3. | After installation, look for a TheatreManager icon on the desktop or in the Start Menu and open Theatre Manager | ||
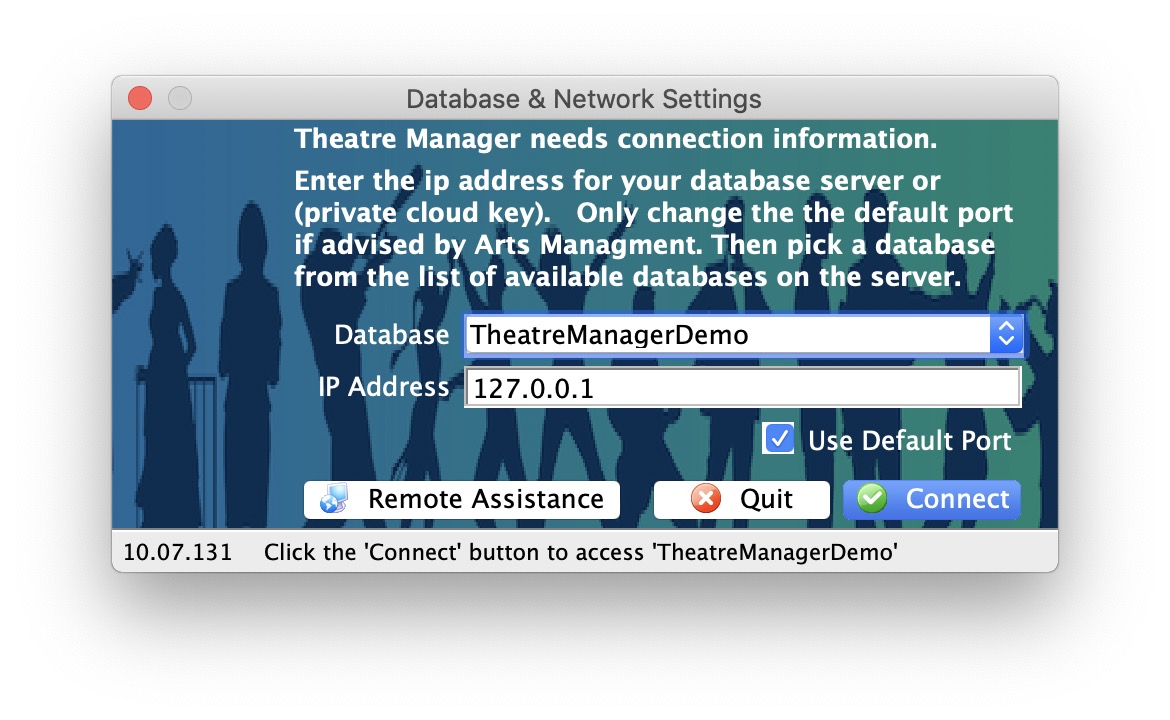
| 4. | If you get asked to find a database, enter the IP address 127.0.0.1 below and click search. Normally, you should not need to do this as the Demo database is always assumed to be on the local machine.
If you cannot connect to the database, check the following settings:
|
||
| 5. | (Optional) If you are running a demonstration copy of Theatre Manager, you will see a first time setup screen asking you for your company information. All fields except the second line of address and the web site are mandatory. After you put this in the first time, you will not see it again.
These fields are used during the demo to show how Theatre Manager verifies information for you. For example, the city, state, and country you enter becomes the default country for new patrons that you may add to the database. The area code for the phone number fields becomes the default for patron entry, etc. Notice how Theatre Manager converts whatever you type into the proper case as it tries to assist in data entry.
|
||
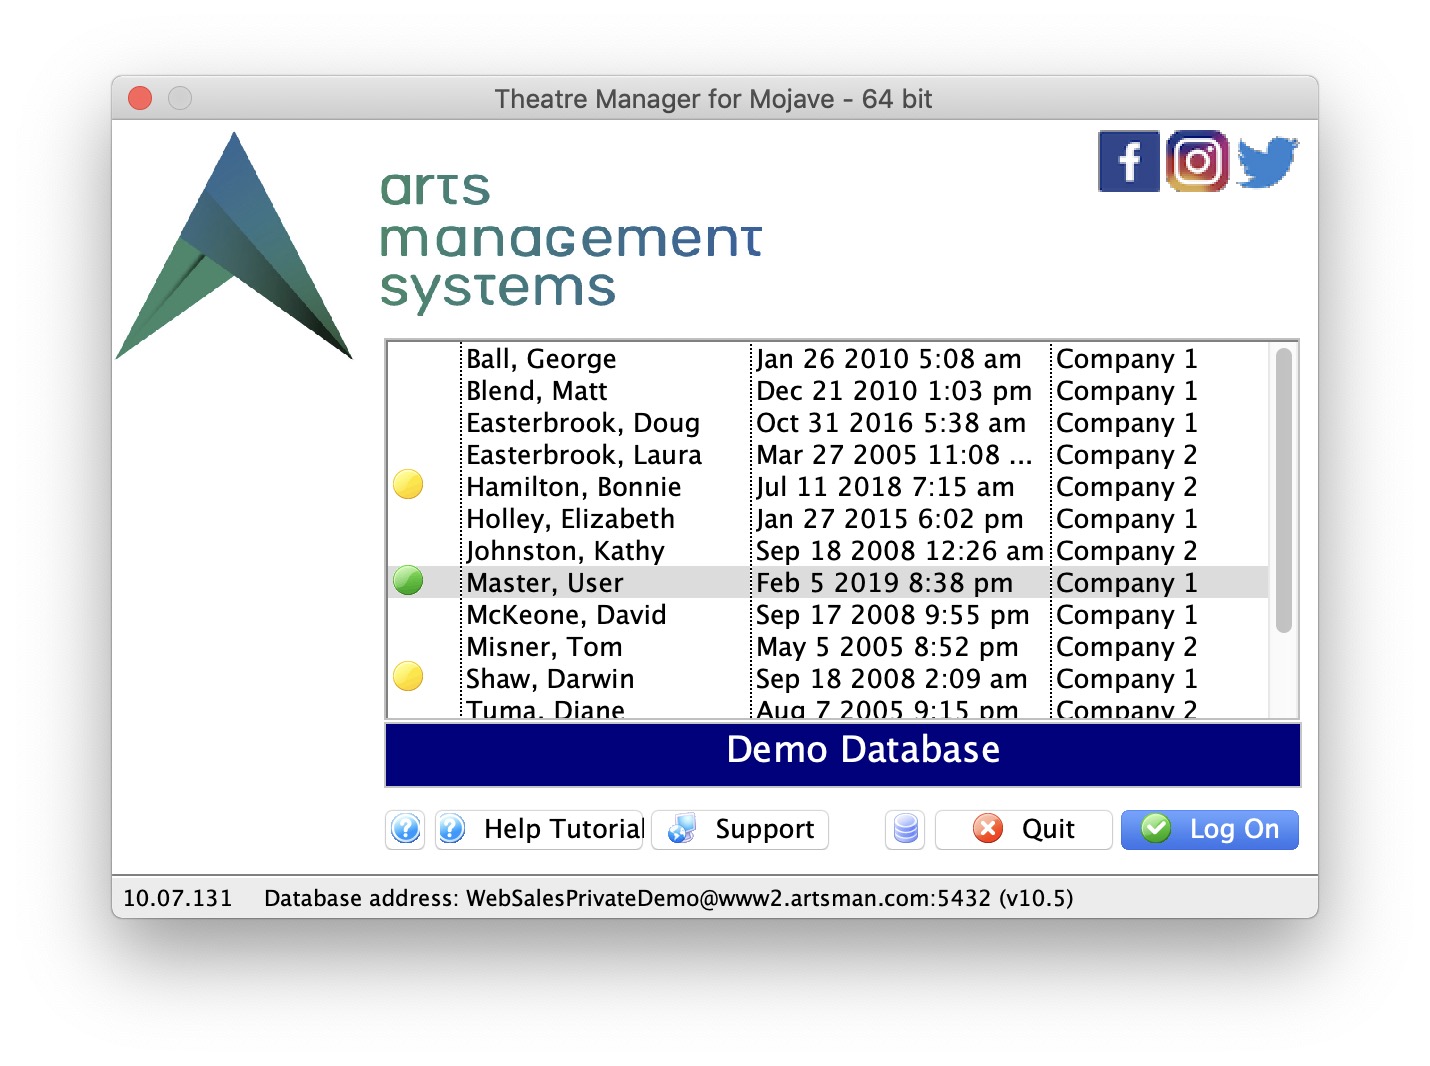
| 6. | Then, if you are able to connect to the database and enter the company information, you will see the login window below. The password for any of the users in the demo is 'master'
|
||
| 7. | In a production environment, once you are connected to the database in step 5, you can run the TMSetup.exe file on any other machine in the network. After changing the pg_hba.conf file, you should be able to connect to the database.
|
||
|
Make sure to also turn off power saving on your ethernet card on all servers and workstations. |


Setting Windows Compatability mode
|
on Windows 10: you must do this step, along with permitting C:/ProgramFiles/Theatre Manager in Windows Defender |
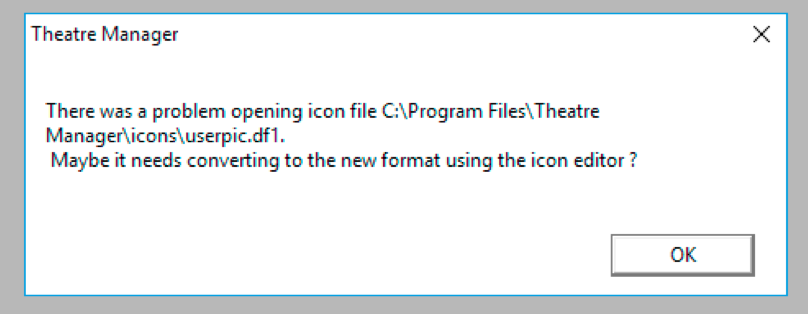
It can be resolved by telling Windows that Theatre Manager may need to run as administrator for all users. You might see an error like below complaining about an invalid format for userpic.df1 and that it needs converting -- this is a sure sign of windows defender and the settings need to be made.
Follow the steps below
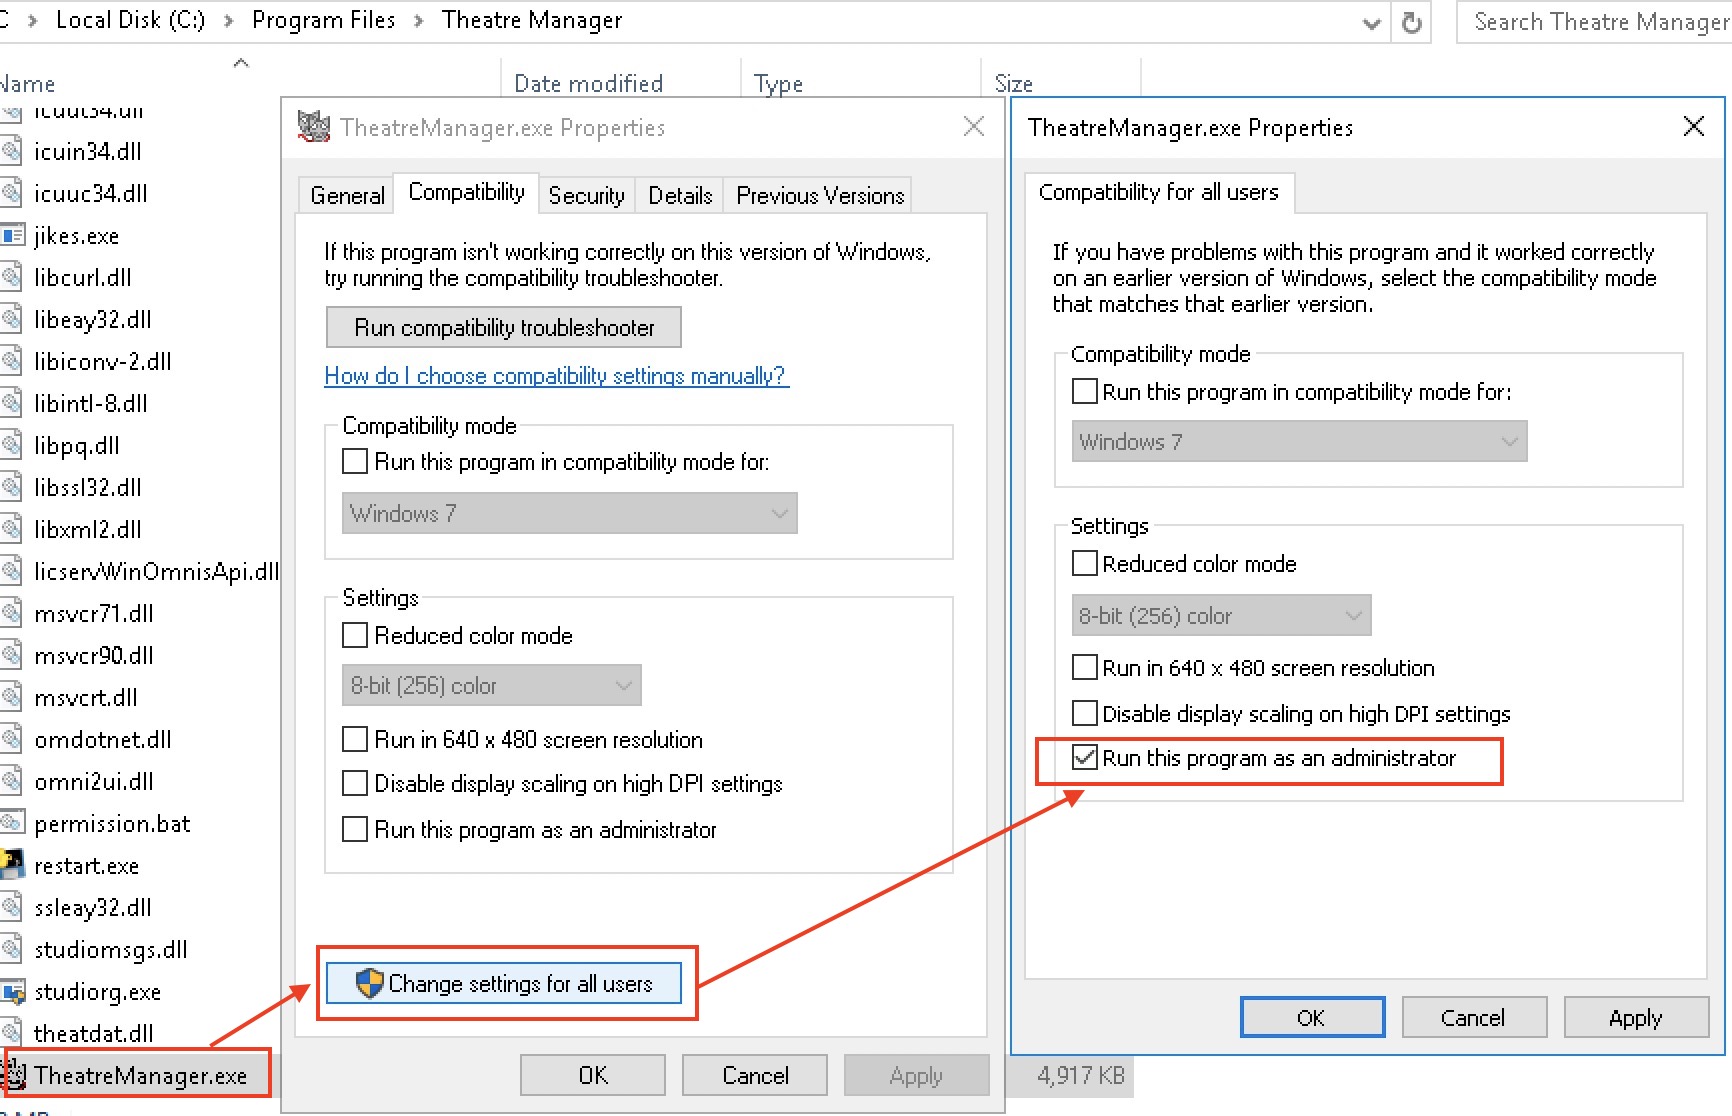
- Right Click on the Theatre Manager icon on the desktop
- Click properties and then FIND ORIGINAL"
- When you find TheatreManager on your desktop and choose Properties
- Click on the Compatibility Tab
- Click the button to Change Settings For All Users
- Uncheck: Run this program in compatibility mode for:
- Check: Run this program as administrator
- Click the button Apply
Installing .NET for Windows
|
It is rare that you might need to do the following steps to install .NET Only do so if advised by the Arts Management Systems Support Team |
Windows installs may require you to do one of the following if you get errors starting Theatre Manager, or if Theatre Manager starts, but seems to hang with some menus open, but the login window does not appear.
Older versions of XP and some versions of Windows 7 may not require this step. However, lately, Microsoft has opted to make their flagship .NET tools an optional part of Windows, which causes the error above. Installing .NET will add that part of Windows back into Windows that Microsoft made optional.
Local AppData needs Read/Write permissions
