Theatre Manager Desktop Application
Installing or Updating??
Installing or Updating Theatre Manager is a similar process. If you do not already have the latest TM installer, you can obtain in one of three ways:
- If you have Theatre Manager, you can check to see if an update is available which you can copy to any machine, even one without TM on it.
- If TM notices an out-of-date component, it downloads the latest installer while you work and prompts for an update when you log in.
- If you are new to Theatre Manager, you will have been provided a link in an email
Once you have the latest available version of the Theatre Manager installer/updater, please follow the specific instructions for:
- Macintosh - macOS 11 Monterey and later recommended - MacOS 12 Big Sur and later will work with 64 bit -or-
- Windows - Windows 11 recommended - Windows 8.1 or later will work for 64-bit
- using the General Upgrade Steps as an overall guide.
 |
If you set the PCI setting in Theatre Manager 'C', credit cards are never placed in the database. Thee card information is merely passed to the processor and immediately forgotten. |
|
Running an upgrade will, if appropriate, automatically generate a random new PCI seed key and re-encrypt credit cards using the new key. In the process, this destroys any previous crypto keys per PCI DSS standard 3.6.
Credit cards that have been shredded are not affected by the re-encryption process. Refer to re-encrypting cards if you wish to do this manually. |
|
Theatre Manager has never stored CVV2, Track II or any other non PCI compliant information so removal is not necessary per PCI DSS standard 3.3.
|
Macintosh Theatre Manager
 |
During a Full Install you will need to provide the administrator password to your machine. If you do not know this, contact your IT support or Systems Administrator. |
|
You may need to go to Apple Menu >> System Preferences >> Security & Privacy to allow apps that are downloaded from anywhere. |
|
If you are unable to install, you might need to use the following commands in terminal before running the installer More info is under disable power saving settings - Step 1:
sudo spctl --master-disable
|
| 1. | Download the Theatre Manager Mac installer if you have not done so. This link is supplied upon request.
|
||||||
| 2. |
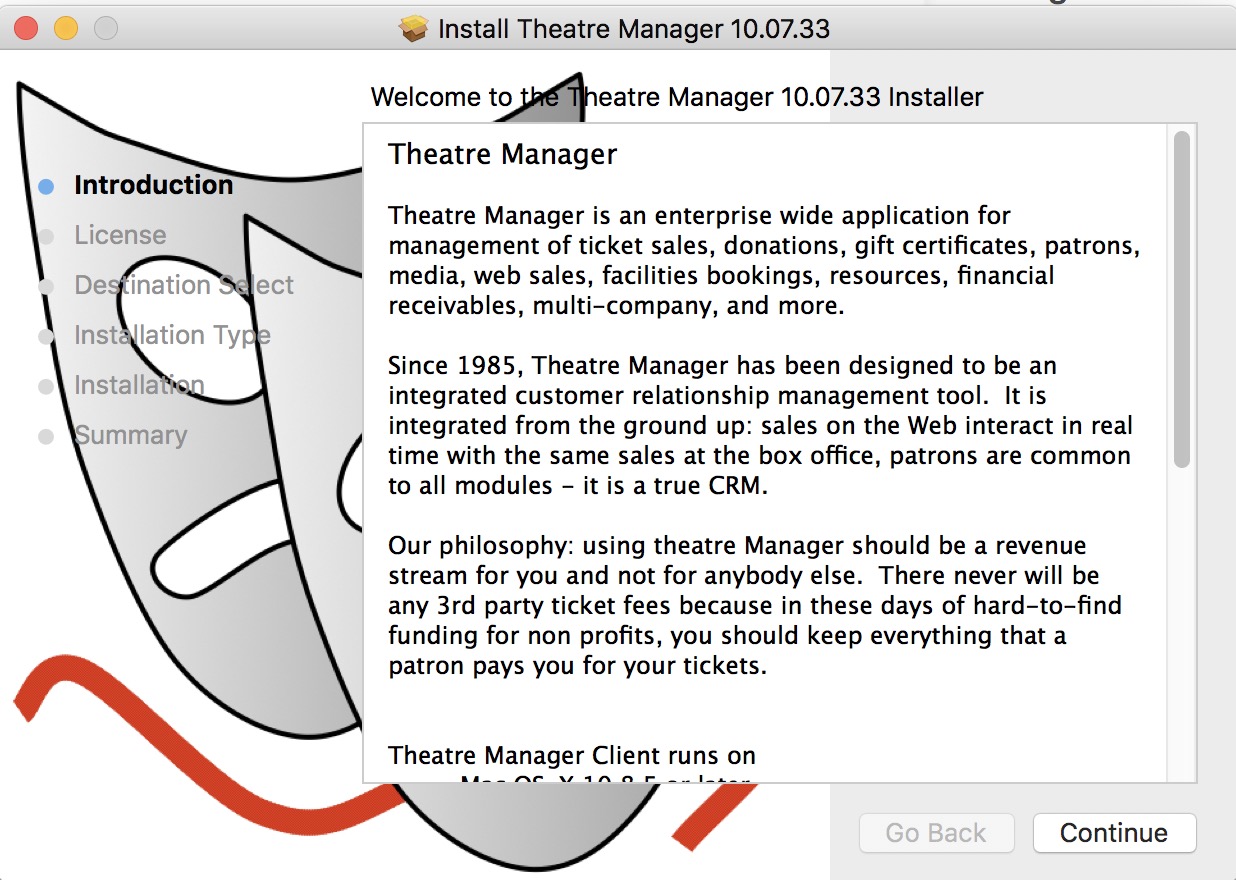
Click continue
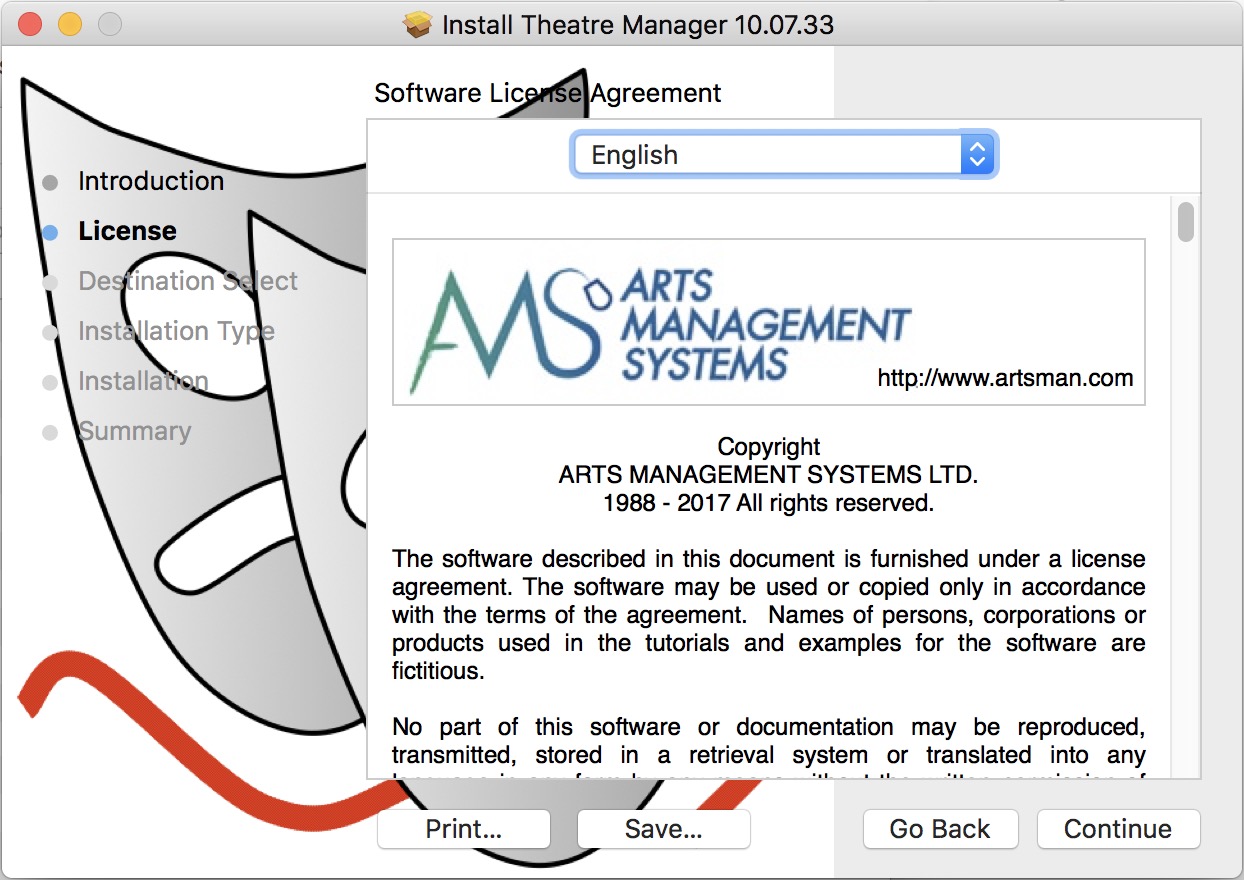
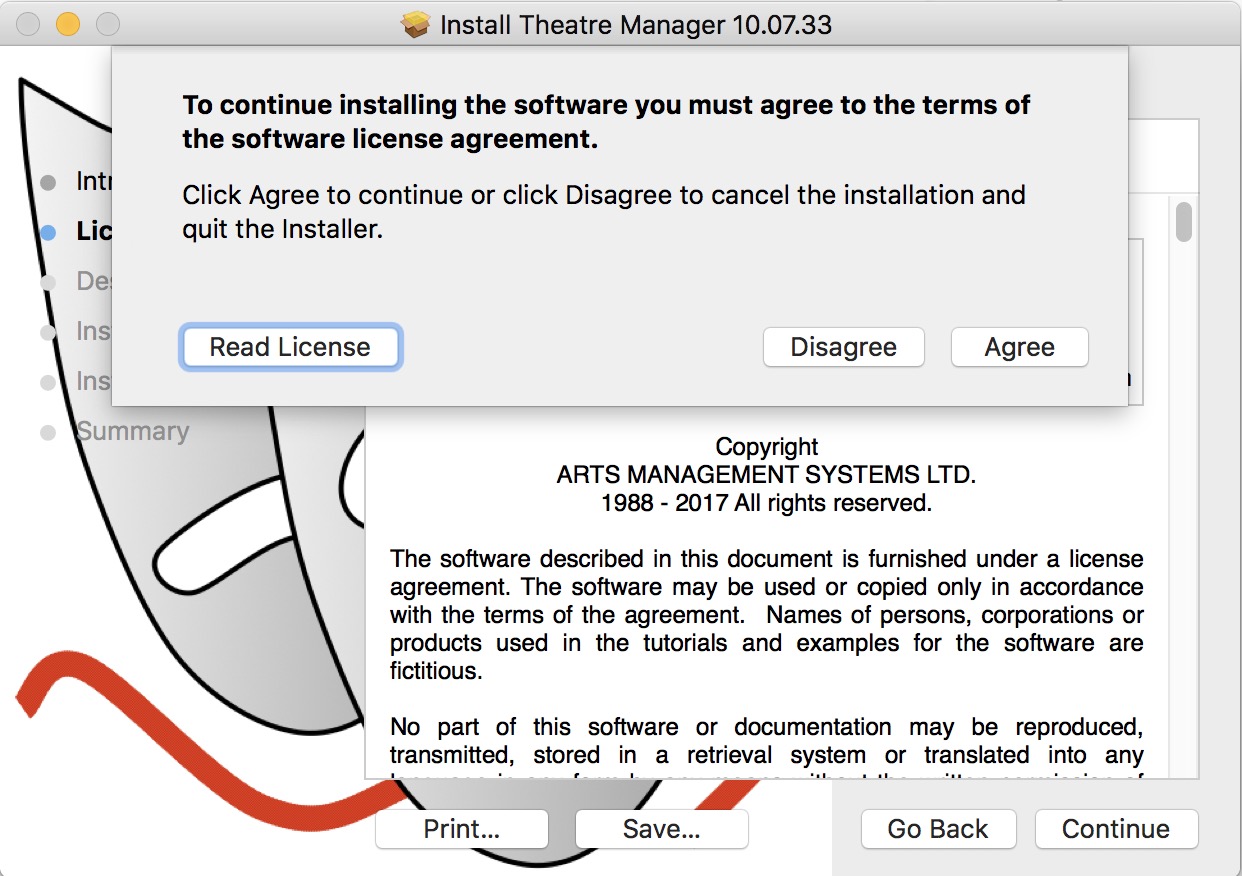
Click continue and read the license agreement
Click 'Agree' to accept the agreement and continue
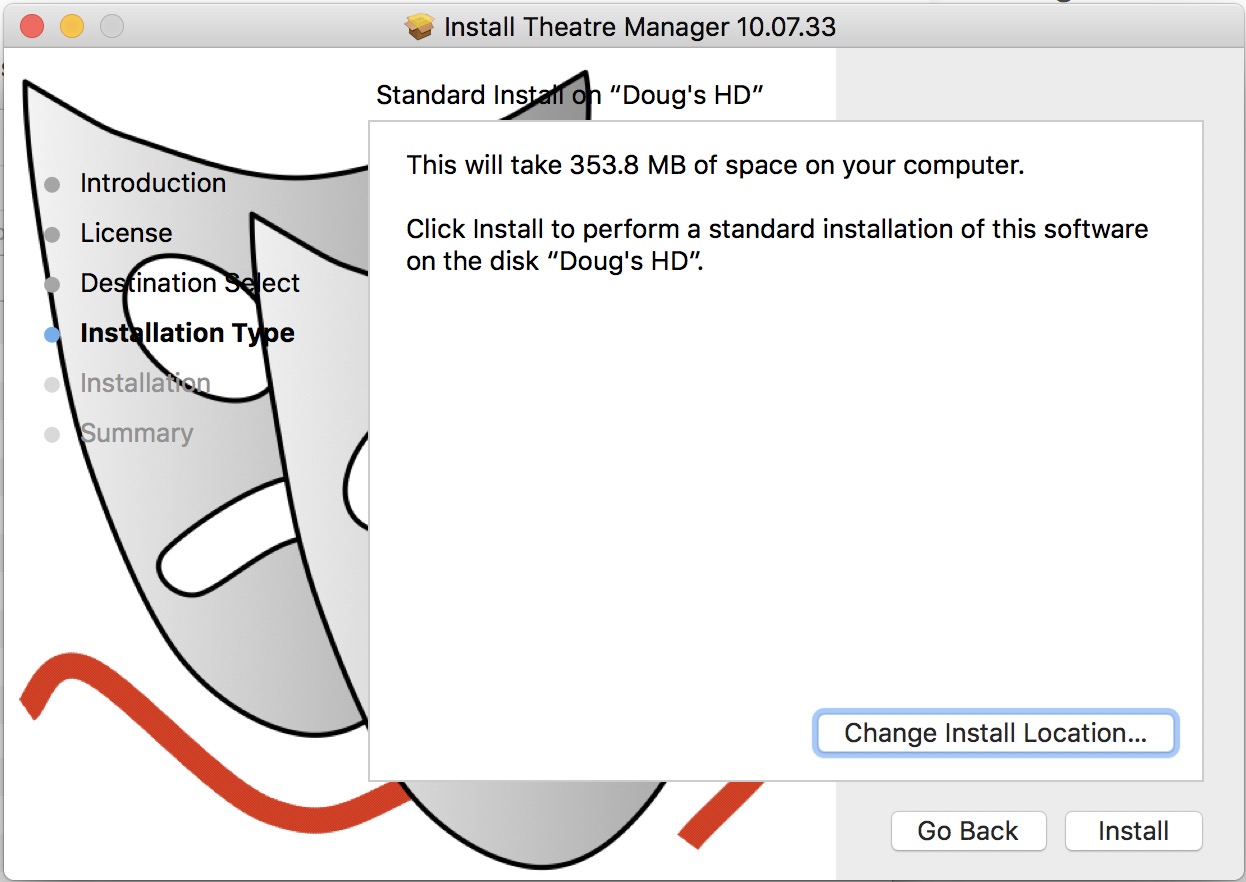
Click Install
Enter your password (or if you have a Mac with Touch ID, use your finger)
Click 'Close' when done. |
||||||
| 3. | After installation, look for Theatre Manager link on the desktop and double-click on it to start it up. There will also be a file called TMPreview.pdf on the desktop that illustrates some key features of TM. | ||||||
| 4. |
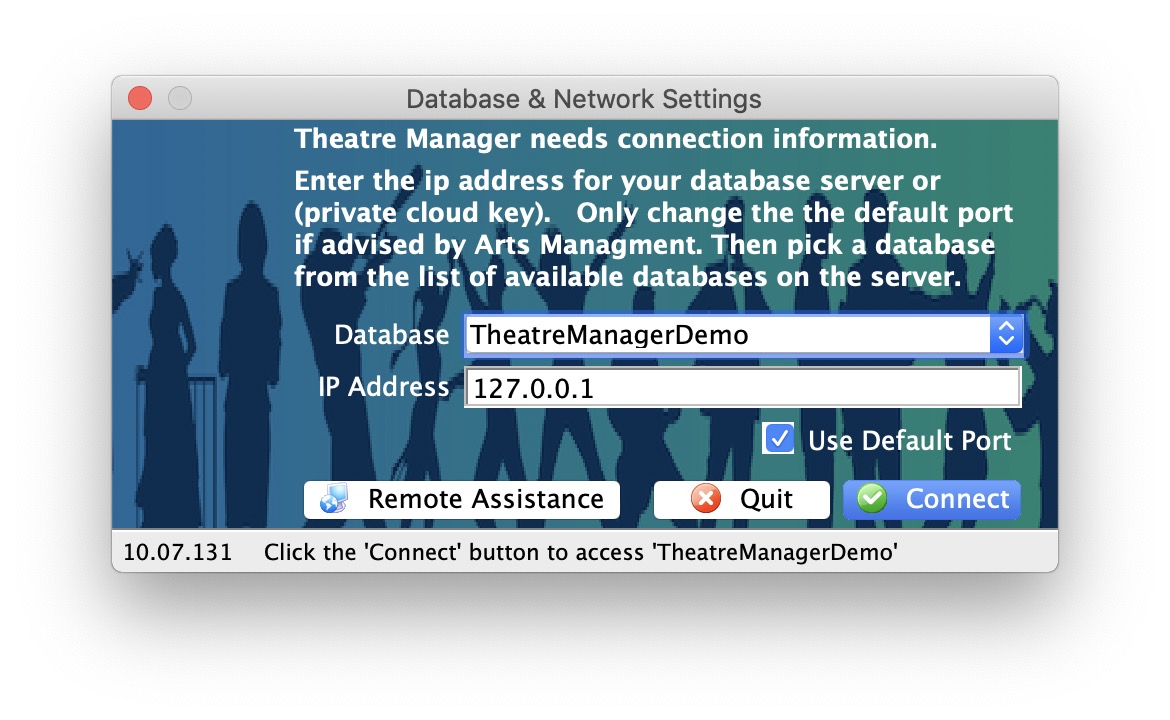
If you cannot connect to the database, check the following settings:
|
||||||
| 5. |
 (optional)
If you are running a demonstration copy of Theatre Manager, you will see a first time setup screen asking you for your company information. All fields except the second line of address and the web site are mandatory. After you put this in the first time, you will not see it again. (optional)
If you are running a demonstration copy of Theatre Manager, you will see a first time setup screen asking you for your company information. All fields except the second line of address and the web site are mandatory. After you put this in the first time, you will not see it again.
These fields are used during the demo to show how Theatre Manager verifies information for you. For example, the city, state and country you enter becomes the default country for new patrons that you may add to the database. The area code for the phone number fields becomes the default for patron entry, etc. Notice how Theatre Manager converts whatever you type into the proper case as it tries to assist in data entry. |
||||||
| 6. |
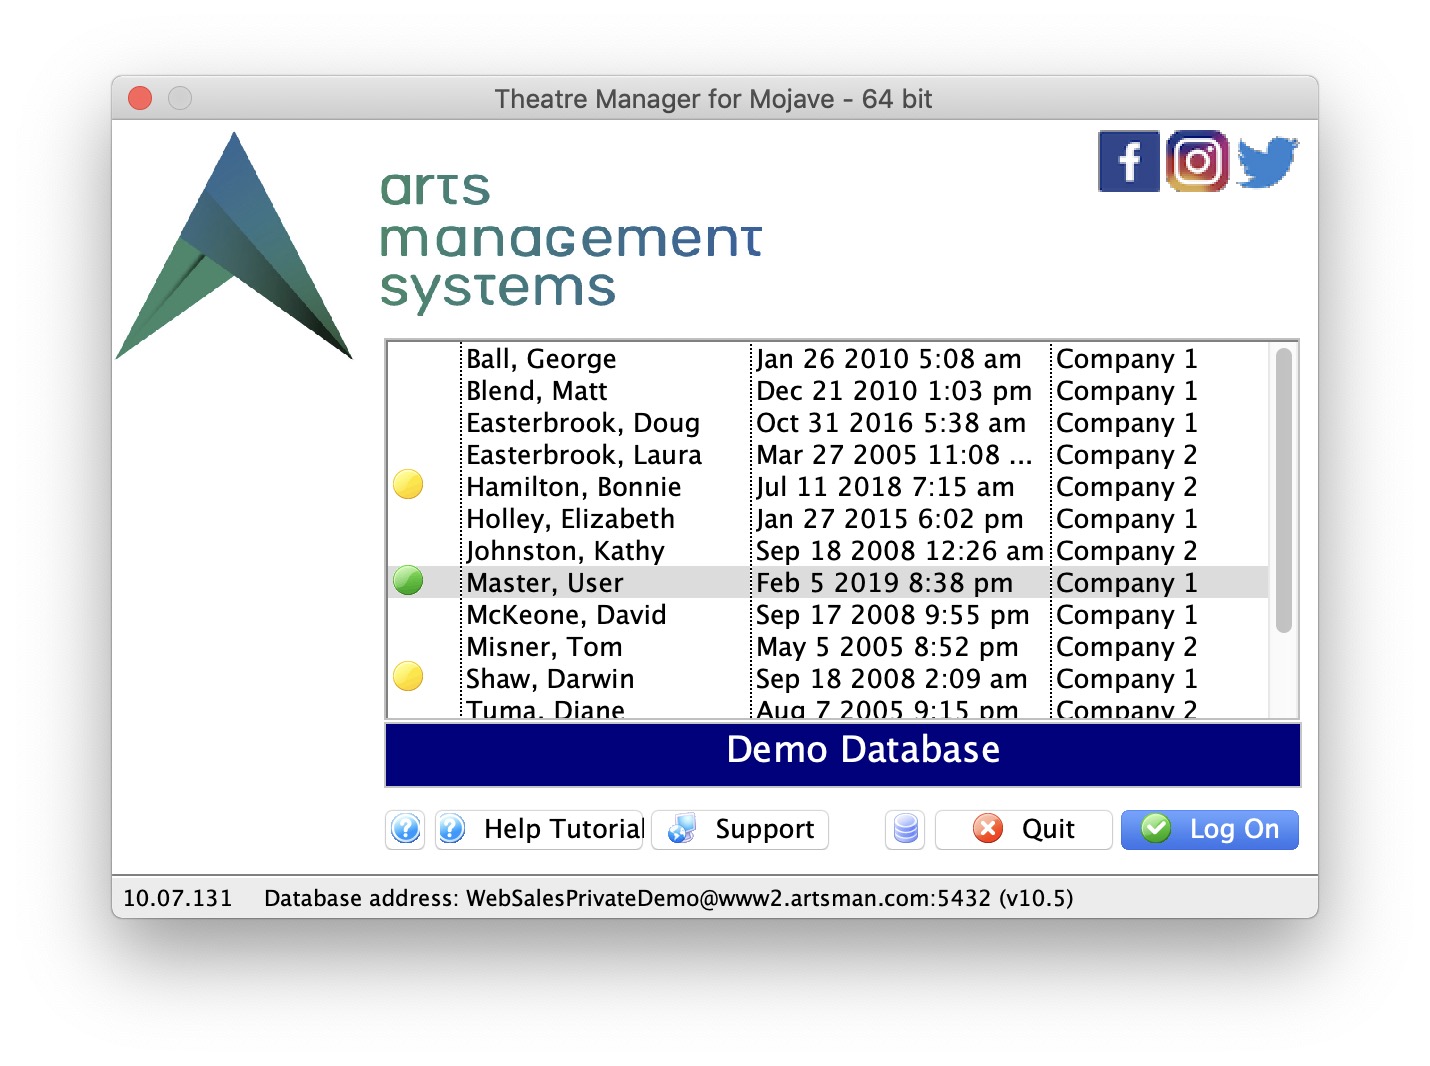 Then, if you are able to connect to the database and enter the company information, you will see the login window below. The password for any of the users in the demo is 'master' (without the single quotes).
|
||||||
| 7. |
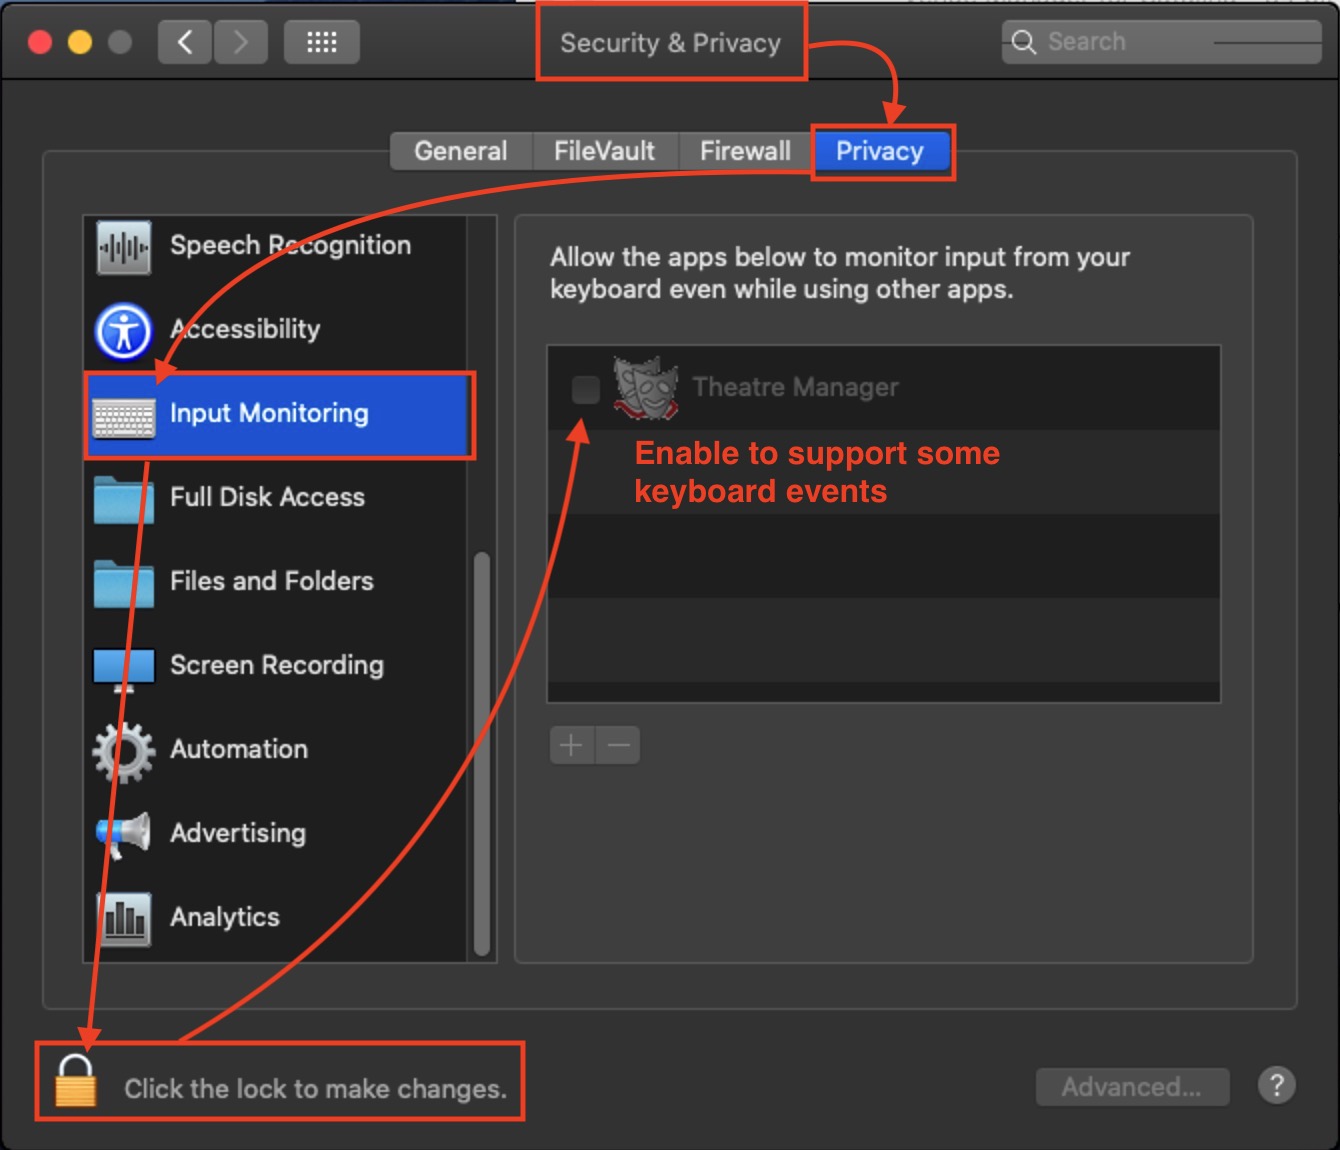 (Optional) if you are running Catalina, you may need to make a change to system preferences to allow permission. (Optional) if you are running Catalina, you may need to make a change to system preferences to allow permission.
|
||||||
| 8. | In a production environment, once connected to the database in step 5, you can run the TMSetup file on any other machine in the network. After changing the pg_hba.conf file, and by editing the serial.txt file, you should be able to connect to the database.
|

Enabling installation in Security and Preferences
|
Apple requires that users acknowledge that they trust the installer. The exact message you get may vary depending on the version of macOS you are using.
|
|
You can make apple run any installer option-double clicking on an installer and you should see a button that says 'open anyway' |
|
If you are unable to install, you might need to use the following two commands in terminal before running the installer More info is under disable power saving settings - Step 1:
sudo spctl --master-disable
|
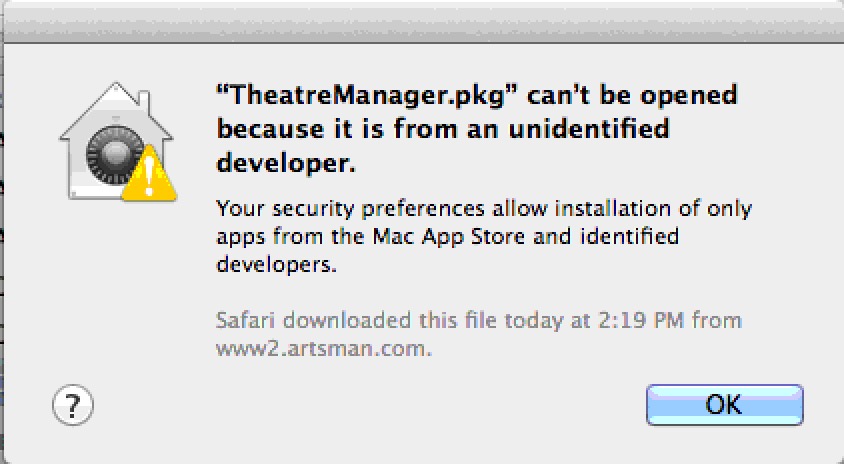
If you run the TM installer and receive a message similar to the one above (implying you have to provide permission). then:
- Select the Apple menu at the upper right of your computer screen
- Select System Preferences
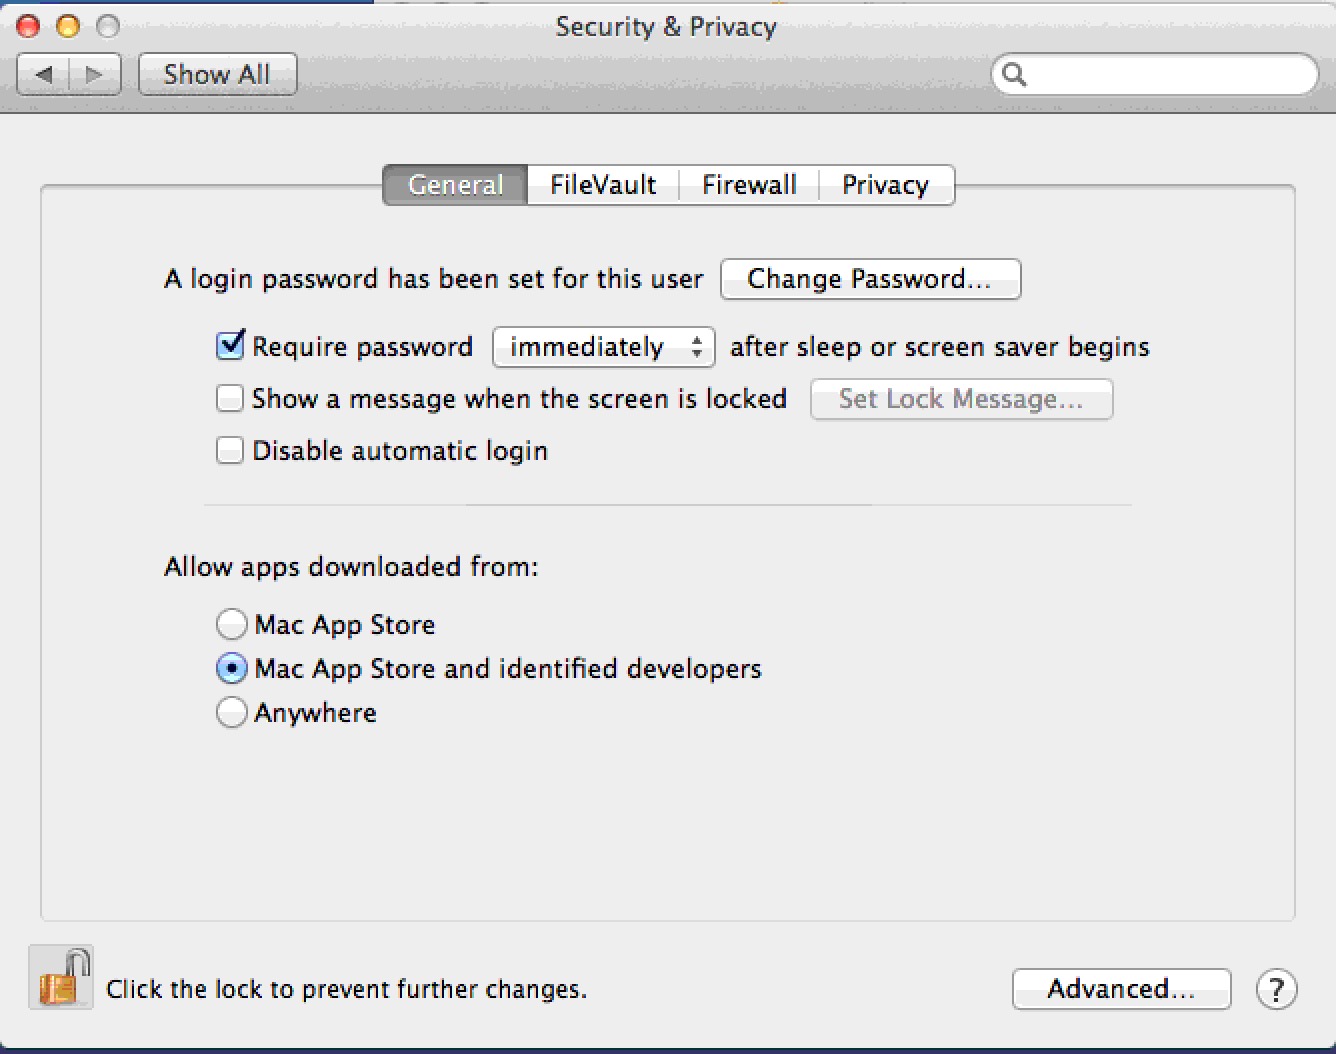
- Select Security & Privacy which is on the top row of the preferences (it may be called Firewall in older versions of macOS).
- Click the General tab
- You will see a screen similar to the one below. Do one of the following
- Click on the third option at the bottom saying Anywhere to allow apps downloaded from 'Anywhere'.
- If that is not visible, then you should see an option to click a button that says Open Anyway to run the installer. If so click Open Anyway
- This will start the installation process
Using Network User Profiles - Mac
|
Follow the steps below if you have Network Users set up and performance of TM seems slow when everything is run across the network. |
Primary Method for Network User Profiles - just install Theatre Manager
In macOS, Theatre Manager is designed to store key application components in the local user's 'Application Support' directory. This allows multiple local users on the same machine to use Theatre Manager.
Network Users have a different 'home' directory setup where the key files are not stored on the local machine. When Theatre Manager is installed, it will save some of its files in the network directory - but you may experience some performance issues if the network or server drives are slow.
Alternate method for running Theatre Manager with Network User Profiles:
If performance seems a little slow with a normal installation that users the network profiles, Theatre Manager can be configured a little differently, as follows.
- Make sure:
- Theatre Manager is already installed on the machine using the TMSetup application -and-
- Nobody is currently using Theatre Manager on the machine
- Go to the Applications Folder
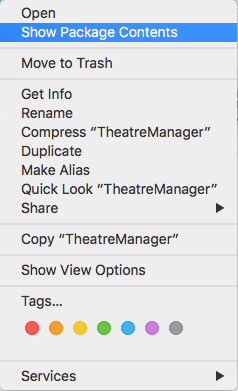
- Right click on the Theatre Manager application and select Show Package Contents from the context menu
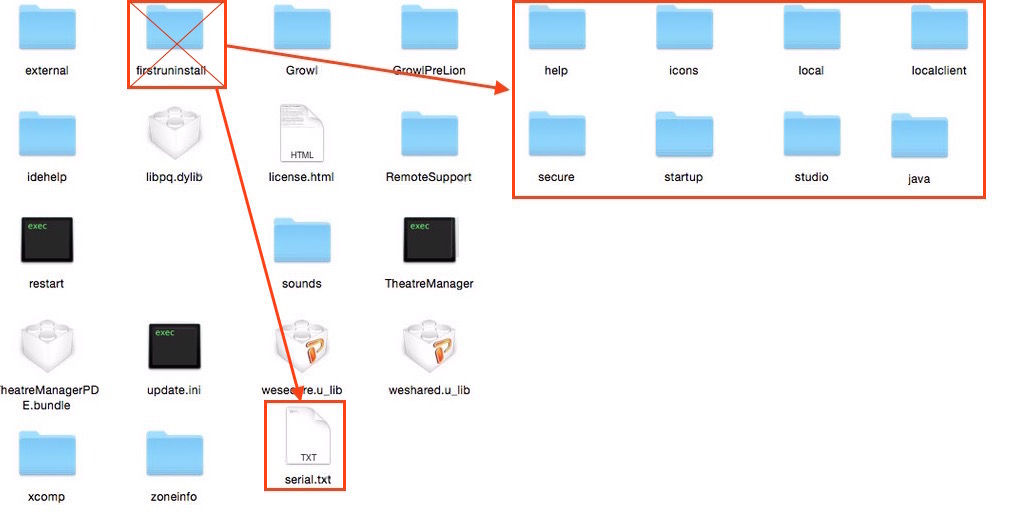
- Navigate to Contents --> MacOS --> firstruninstall folder
- Copy the entire contents for the firstruninstall folder.
- Navigate back to the MacOS folder.
- Paste the contents of the firstruninstall folder into the MacOS folder.
- You may be asked to replace the serial.txt file
- Respond 'yes'
- Delete the firstruninstall folder. The contents of the MacOS folder should now be similar to below.
- Test that Theatre Manager starts up and you see the login window.
- Log in as a couple of other network users and try again
|
If you get an error message starting Theatre Manager about permissions writing to a directory, you may need to type the following in Terminal: sudo chmod -R -v 777 /Applications/Theatre Manager |
Missing Zip Code or USPSIMBStanda Font
- ZipCode, and
- USPSIMBStanda
To fix the message:
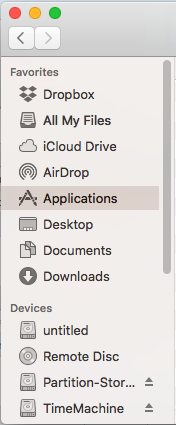
- Open the hard drive on your Mac, or open Finder
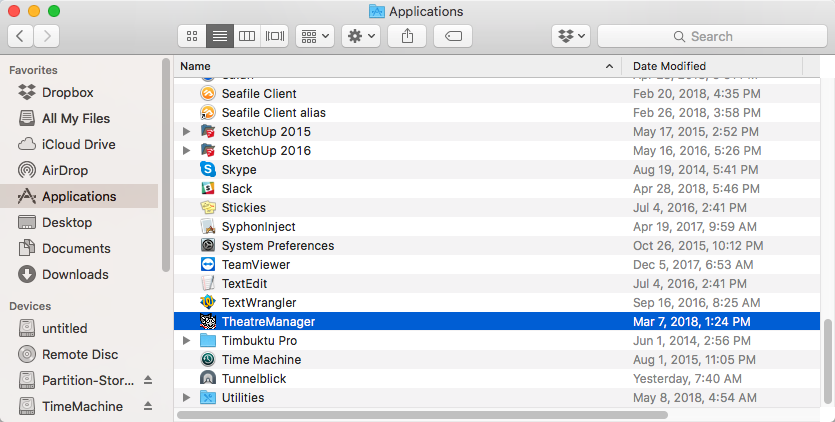
- Go to the Applications directory
- Find the TheatreManager application
- RIGHT+click on it and choose Show Package Contents from the menu
- Go into Contents >> MacOS >> Fonts The Fonts folder will have both fonts in it.
- Double click on each font, one at a time
- Click the Install Font button in the lower right corner
- Check the box next to the font name
- Click the Install Checked button in the lower right corner
- Repeat for the other font

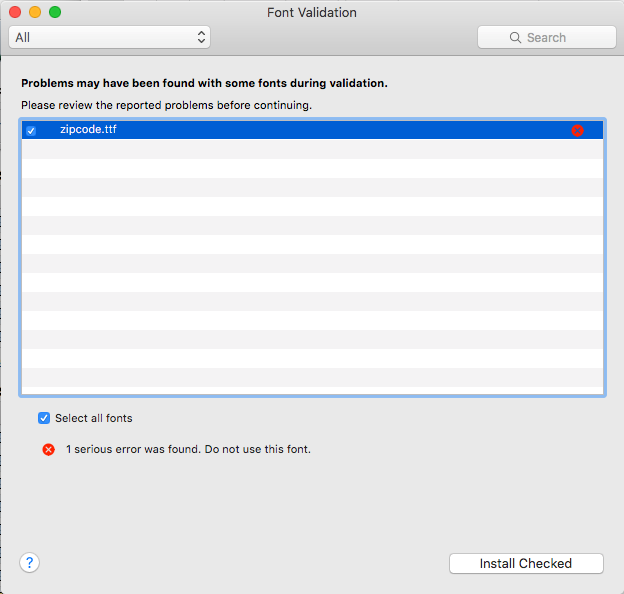
macOS will bring up a Font Validation screen.
|
There will be a message that it has found a problem with the font. Ignore this. |
Windows Theatre Manager
|
During a Full Install you may need to:
|
| 1. | Download the TheatreManager PC installer if you have not done so. This link is supplied upon request
|
||
| 2. | Run the TMSetup.exe program and respond to all prompts as follows.
Click 'Next'
Read the licence agreement and click 'Yes' to agree to its terms and conditions
Click 'Next'
The installer will begin putting Theatre Manager into the 'C:\Program Files' folder.
Click 'Close'
|
||
| 3. | After installation, look for a TheatreManager icon on the desktop or in the Start Menu and open Theatre Manager | ||
| 4. | If you get asked to find a database, enter the IP address 127.0.0.1 below and click search. Normally, you should not need to do this as the Demo database is always assumed to be on the local machine.
If you cannot connect to the database, check the following settings:
|
||
| 5. | (Optional) If you are running a demonstration copy of Theatre Manager, you will see a first time setup screen asking you for your company information. All fields except the second line of address and the web site are mandatory. After you put this in the first time, you will not see it again.
These fields are used during the demo to show how Theatre Manager verifies information for you. For example, the city, state, and country you enter becomes the default country for new patrons that you may add to the database. The area code for the phone number fields becomes the default for patron entry, etc. Notice how Theatre Manager converts whatever you type into the proper case as it tries to assist in data entry.
|
||
| 6. | Then, if you are able to connect to the database and enter the company information, you will see the login window below. The password for any of the users in the demo is 'master'
|
||
| 7. | In a production environment, once you are connected to the database in step 5, you can run the TMSetup.exe file on any other machine in the network. After changing the pg_hba.conf file, you should be able to connect to the database.
|
||
|
Make sure to also turn off power saving on your ethernet card on all servers and workstations. |
Setting Windows Compatability mode
|
on Windows 10: you must do this step, along with permitting C:/ProgramFiles/Theatre Manager in Windows Defender |
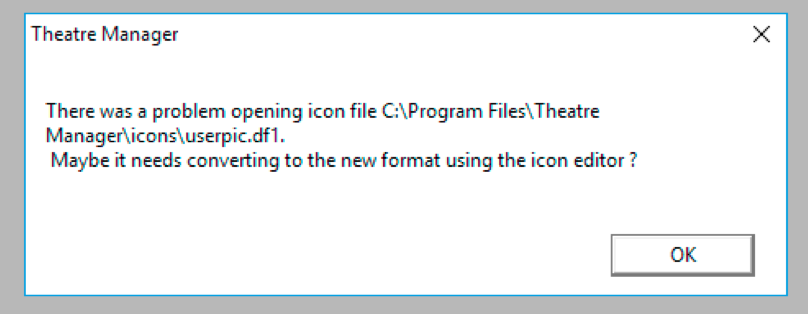
It can be resolved by telling Windows that Theatre Manager may need to run as administrator for all users. You might see an error like below complaining about an invalid format for userpic.df1 and that it needs converting -- this is a sure sign of windows defender and the settings need to be made.
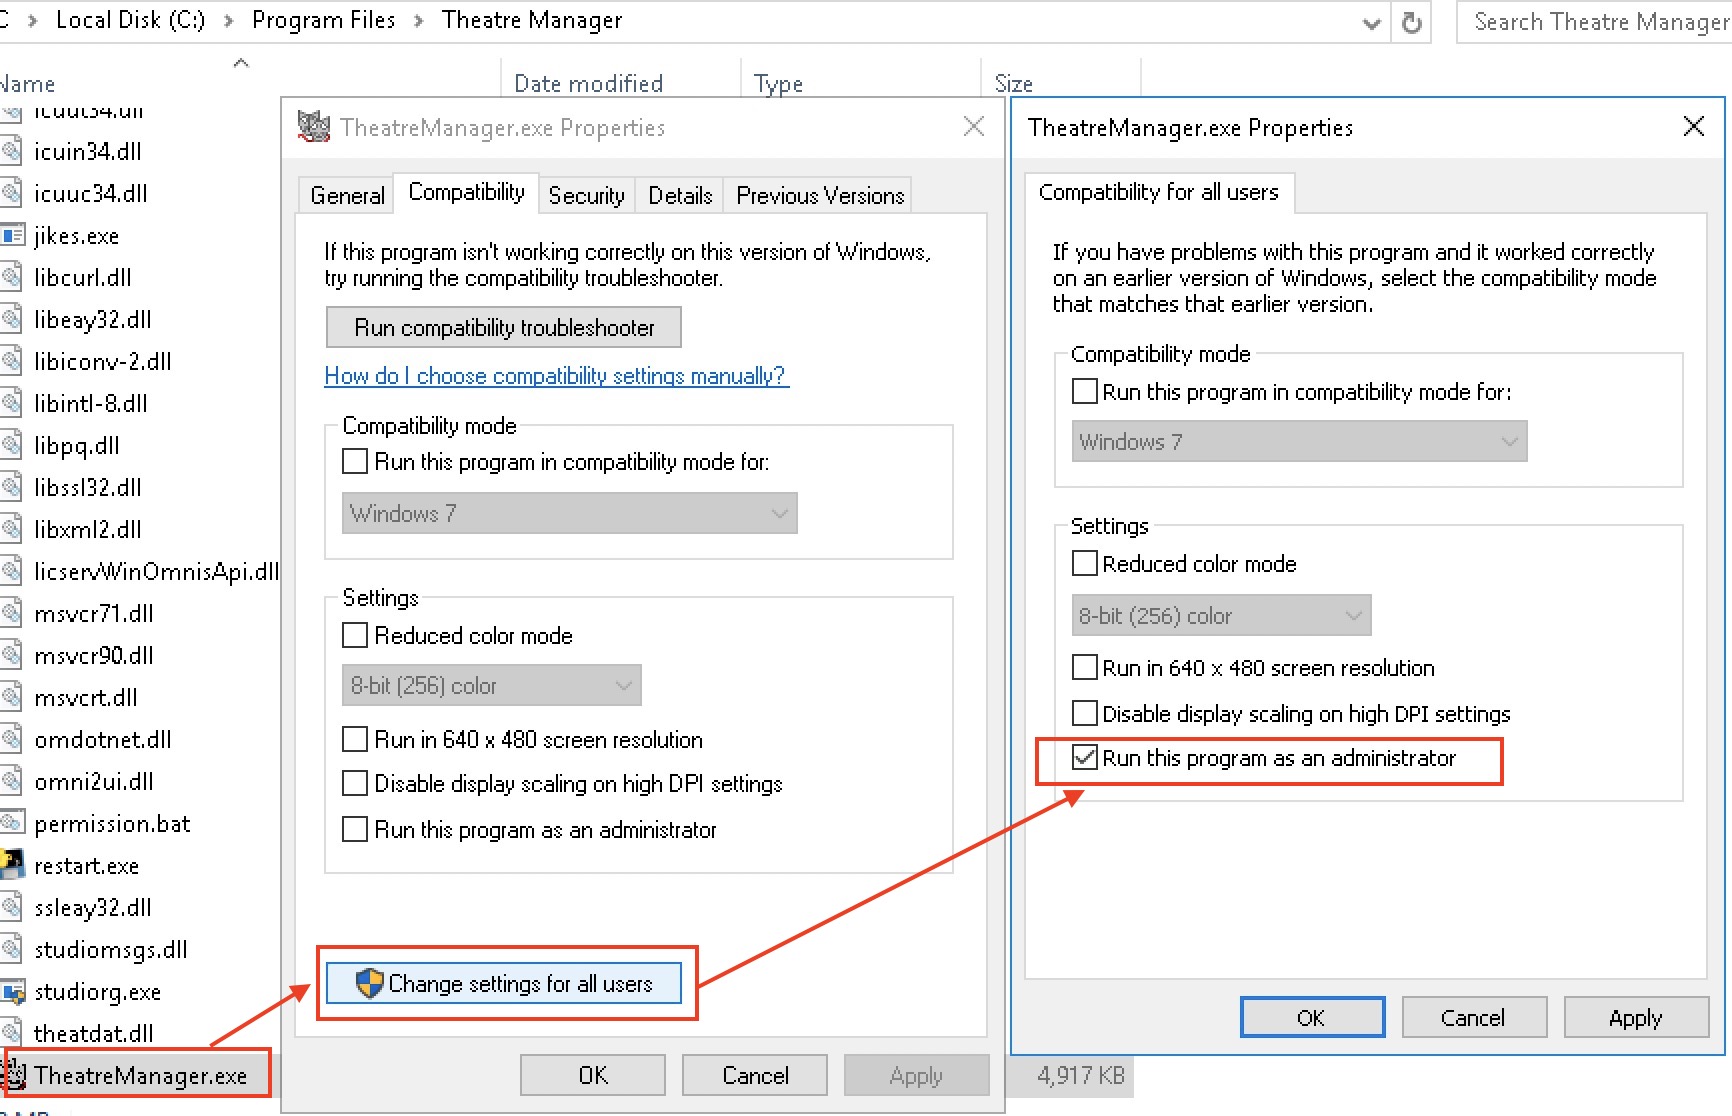
Follow the steps below
- Right Click on the Theatre Manager icon on the desktop
- Click properties and then FIND ORIGINAL"
- When you find TheatreManager on your desktop and choose Properties
- Click on the Compatibility Tab
- Click the button to Change Settings For All Users
- Uncheck: Run this program in compatibility mode for:
- Check: Run this program as administrator
- Click the button Apply
Installing .NET for Windows
|
It is rare that you might need to do the following steps to install .NET Only do so if advised by the Arts Management Systems Support Team |
Windows installs may require you to do one of the following if you get errors starting Theatre Manager, or if Theatre Manager starts, but seems to hang with some menus open, but the login window does not appear.
Older versions of XP and some versions of Windows 7 may not require this step. However, lately, Microsoft has opted to make their flagship .NET tools an optional part of Windows, which causes the error above. Installing .NET will add that part of Windows back into Windows that Microsoft made optional.
Local AppData needs Read/Write permissions

AMS Cloud Setup
|
If your database is not in the cloud, pick Local Database and follow instructions for Changing Database. You may have to unclick/click 'Default Port' to allow you to enter the IP address of the database. |
|
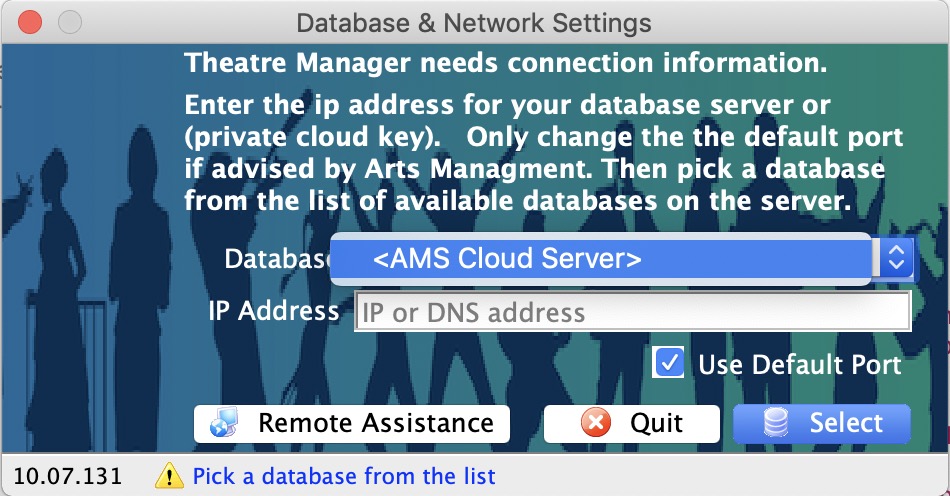
If this is a new machine with a newly installed copy of Theatre Manager and you want to log into the cloud, then just pick <AMS Cloud Server> from the database list. |
- Start Theatre Manager.
- If you have never been connected to a database before, you will immediately see a dialog asking you to select a database. Select <AMS Cloud Server> from the popup list.
- If you have previously connected to a Theatre Manager database before, you will see the familiar list of users. Click the Change DB button at the bottom left of the screen and then follow the instructions above.
- If you have never been connected to a database before, you will immediately see a dialog asking you to select a database. Select <AMS Cloud Server> from the popup list.
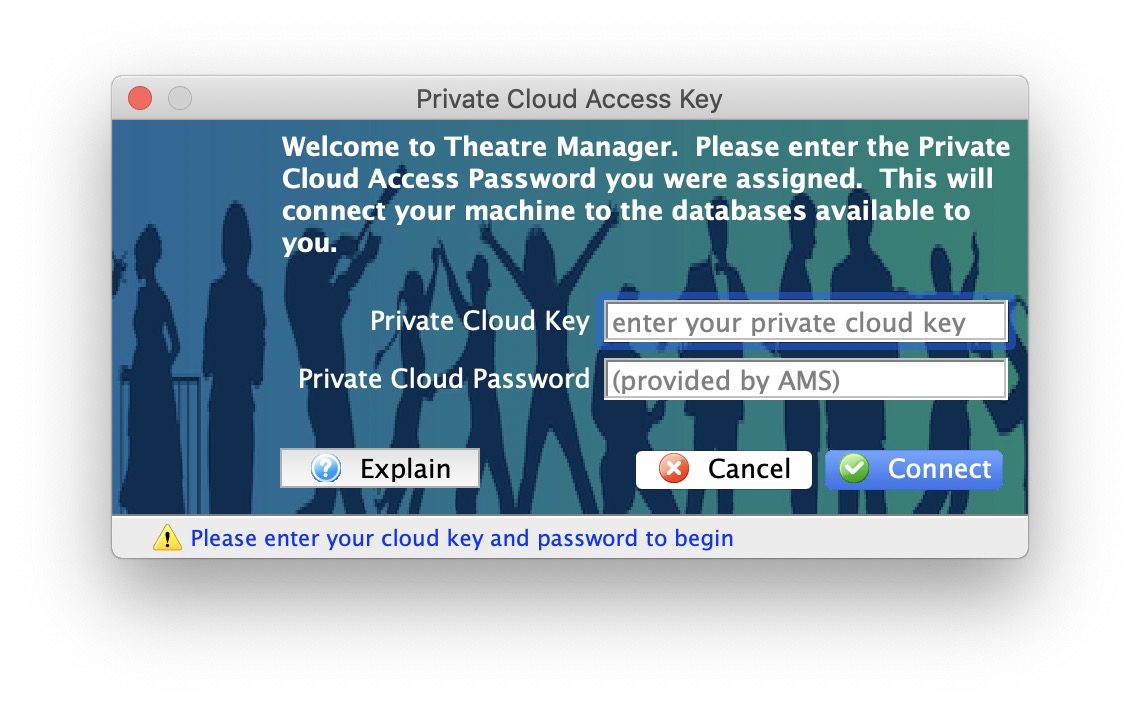
- You will be prompted with a dialog asking you to:
- enter the unique Private Cloud Key that you have been given
- the Private Cloud Password specific to your venue
-
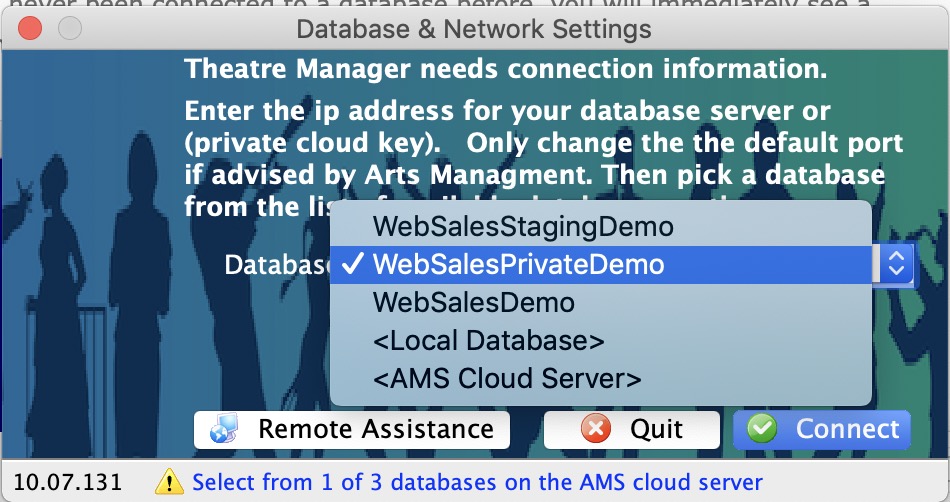
If there:
- Are two or more databases in your cloud setup (eg: your main database and a training one), then you will be asked to pick your database.
- Only one database is available in your cloud setup, you will be taken directly to the next step.
- You will see a list of people who can login
-
Double-click to select one and enter your password

|
Any database in the AMS cloud can be set one of:
You can enhance settings by using Merchant Profiles (available with most providers) to store credit cards for all customers at your merchant service provider. |
|
If there are users at the venue with different local time zones, you may need to provide the LocalTimeZone parameter in the Theatre Manager preferences file. This is only needed if the users time zone does not match the time zone setting in the company preferences->Report/Misc tab |