Billing in a Project

There are 3 billing types you can select. These are:
- Estimate (default) - Estimated amounts will be used and printed while billing is set to estimate. The project itself can have an estimate, or if you enter estimates on the individual tasks, those estimates are used instead.
- Invoice - the project will begin creating transactions that will appear in end of day for posting to the G/L.
- Cancelled - If "Cancelled" is selected, all existing transactions are reversed and running end of day will cause reversing G/L entries to be created.
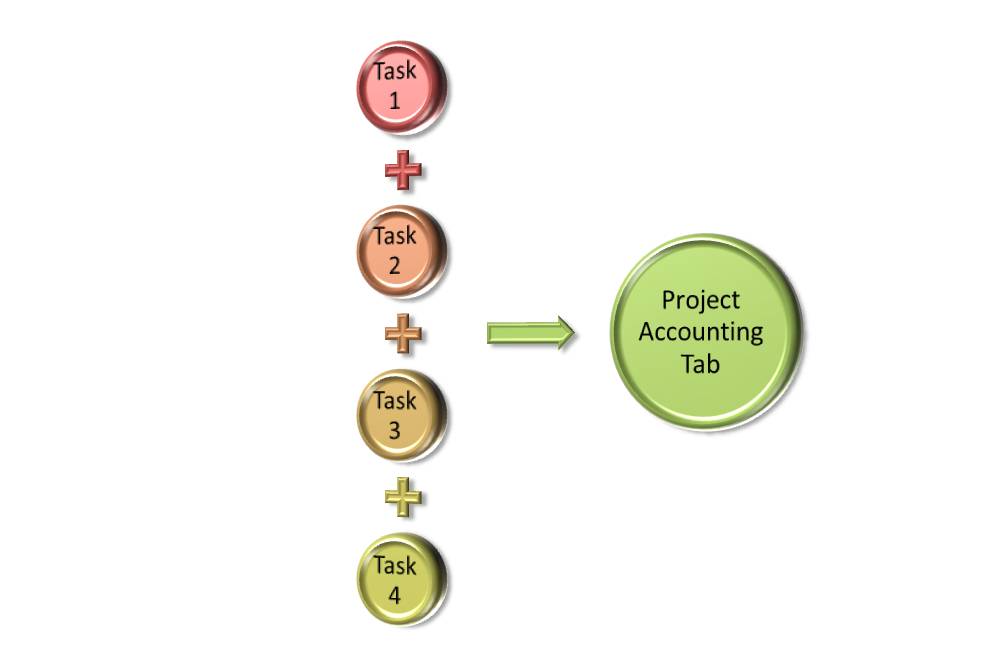
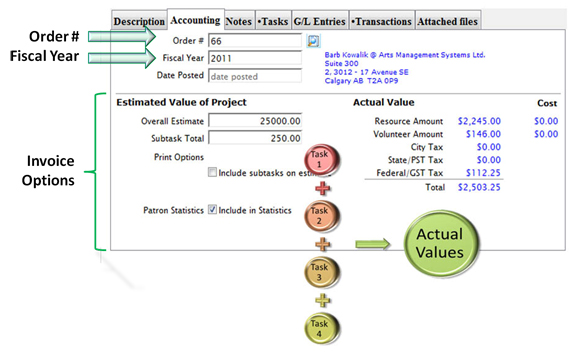
On the Project Detail Accounting tab, the Actuals and Costs areas are calculated based on the tasks associated with the project and the resources and volunteers associated with each task. The project window just shows the roll-up of all the individual task windows.
Changing the Project Billing Type
When Invoice is selected, the project is set up end-of-day processing to create transactions. You can choose Invoice from the drop down list when you add a new project, or you can choose Invoice after a project has been setup. Some rules are:
- An order number is required for billing.
- Printing an invoice estimate will cause an order to be created.
- You can associate the project to an existing order (an order can have multiple projects).
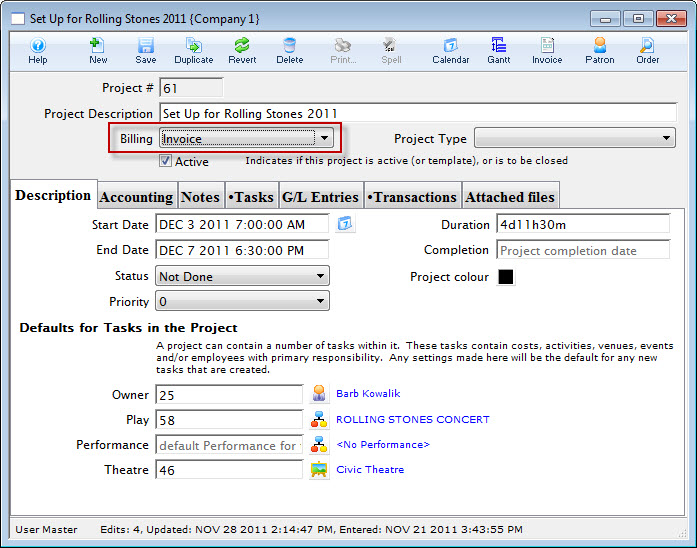
To start, you perform the following steps:
- the project window, click the Billing drop down list and choose Invoice.
The Change Order dialog opens.
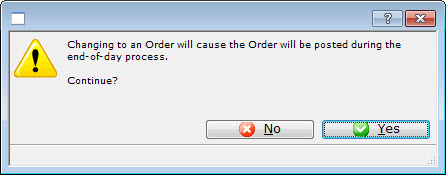
- Click the Yes
 button.
The Select Patron For This Order dialog opens.
- Search for the patron you want to attach to this project.
- Enter enough of the patron first name, last name, and or company to see a list of patrons
- Double click on the one you want. If you want a different one, double click on that
- Once you have the patron you want at the top, click 'Create Order'
- This will assign the patron and order to the project
- Once you have selected the Patron, click the Create Order
 button.
The Order is created and you are returned to the Project window.
Click the Accounting tab.
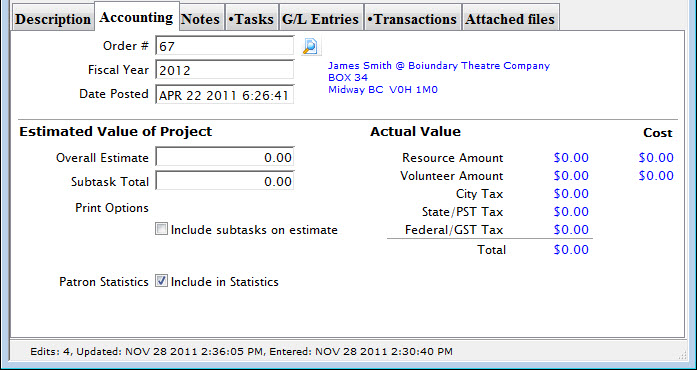
Once the tasks have been entered, the Volunteers, Personnel and Resources assigned, the amounts entered per hour for volunteers, personnel and resources will be displayed on the Accounting tab.
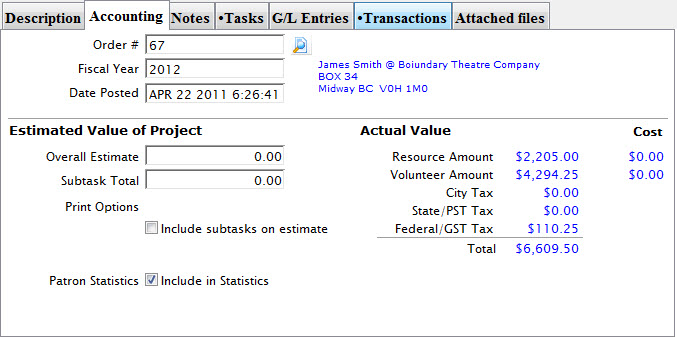
The Actuals and Costs are calculated based on the tasks associated with the project and all the resources and volunteers assocuated with each task. This tab displays the roll up of the tasks.
