
Main menu
You are here
Adding a Task
The Add Task window is accessed in a number of different ways. You can access it from:
- the Menu bar
- the right-click context menu in the Project window
- the New button at the bottom of the Project window
- The new task button in the Calendar toolbar / ribbon bar.
No matter how you get to the task window, data entry is the same.
- Select a Task Type. Task Types can change some of the fields in the Detail window.
Task Types tell TM the other fields which need to be required in the lower half of the window. It is the edit checking process to ensure you enter all the right information. The task you are creating then has a cross-check or edit-check based on it.
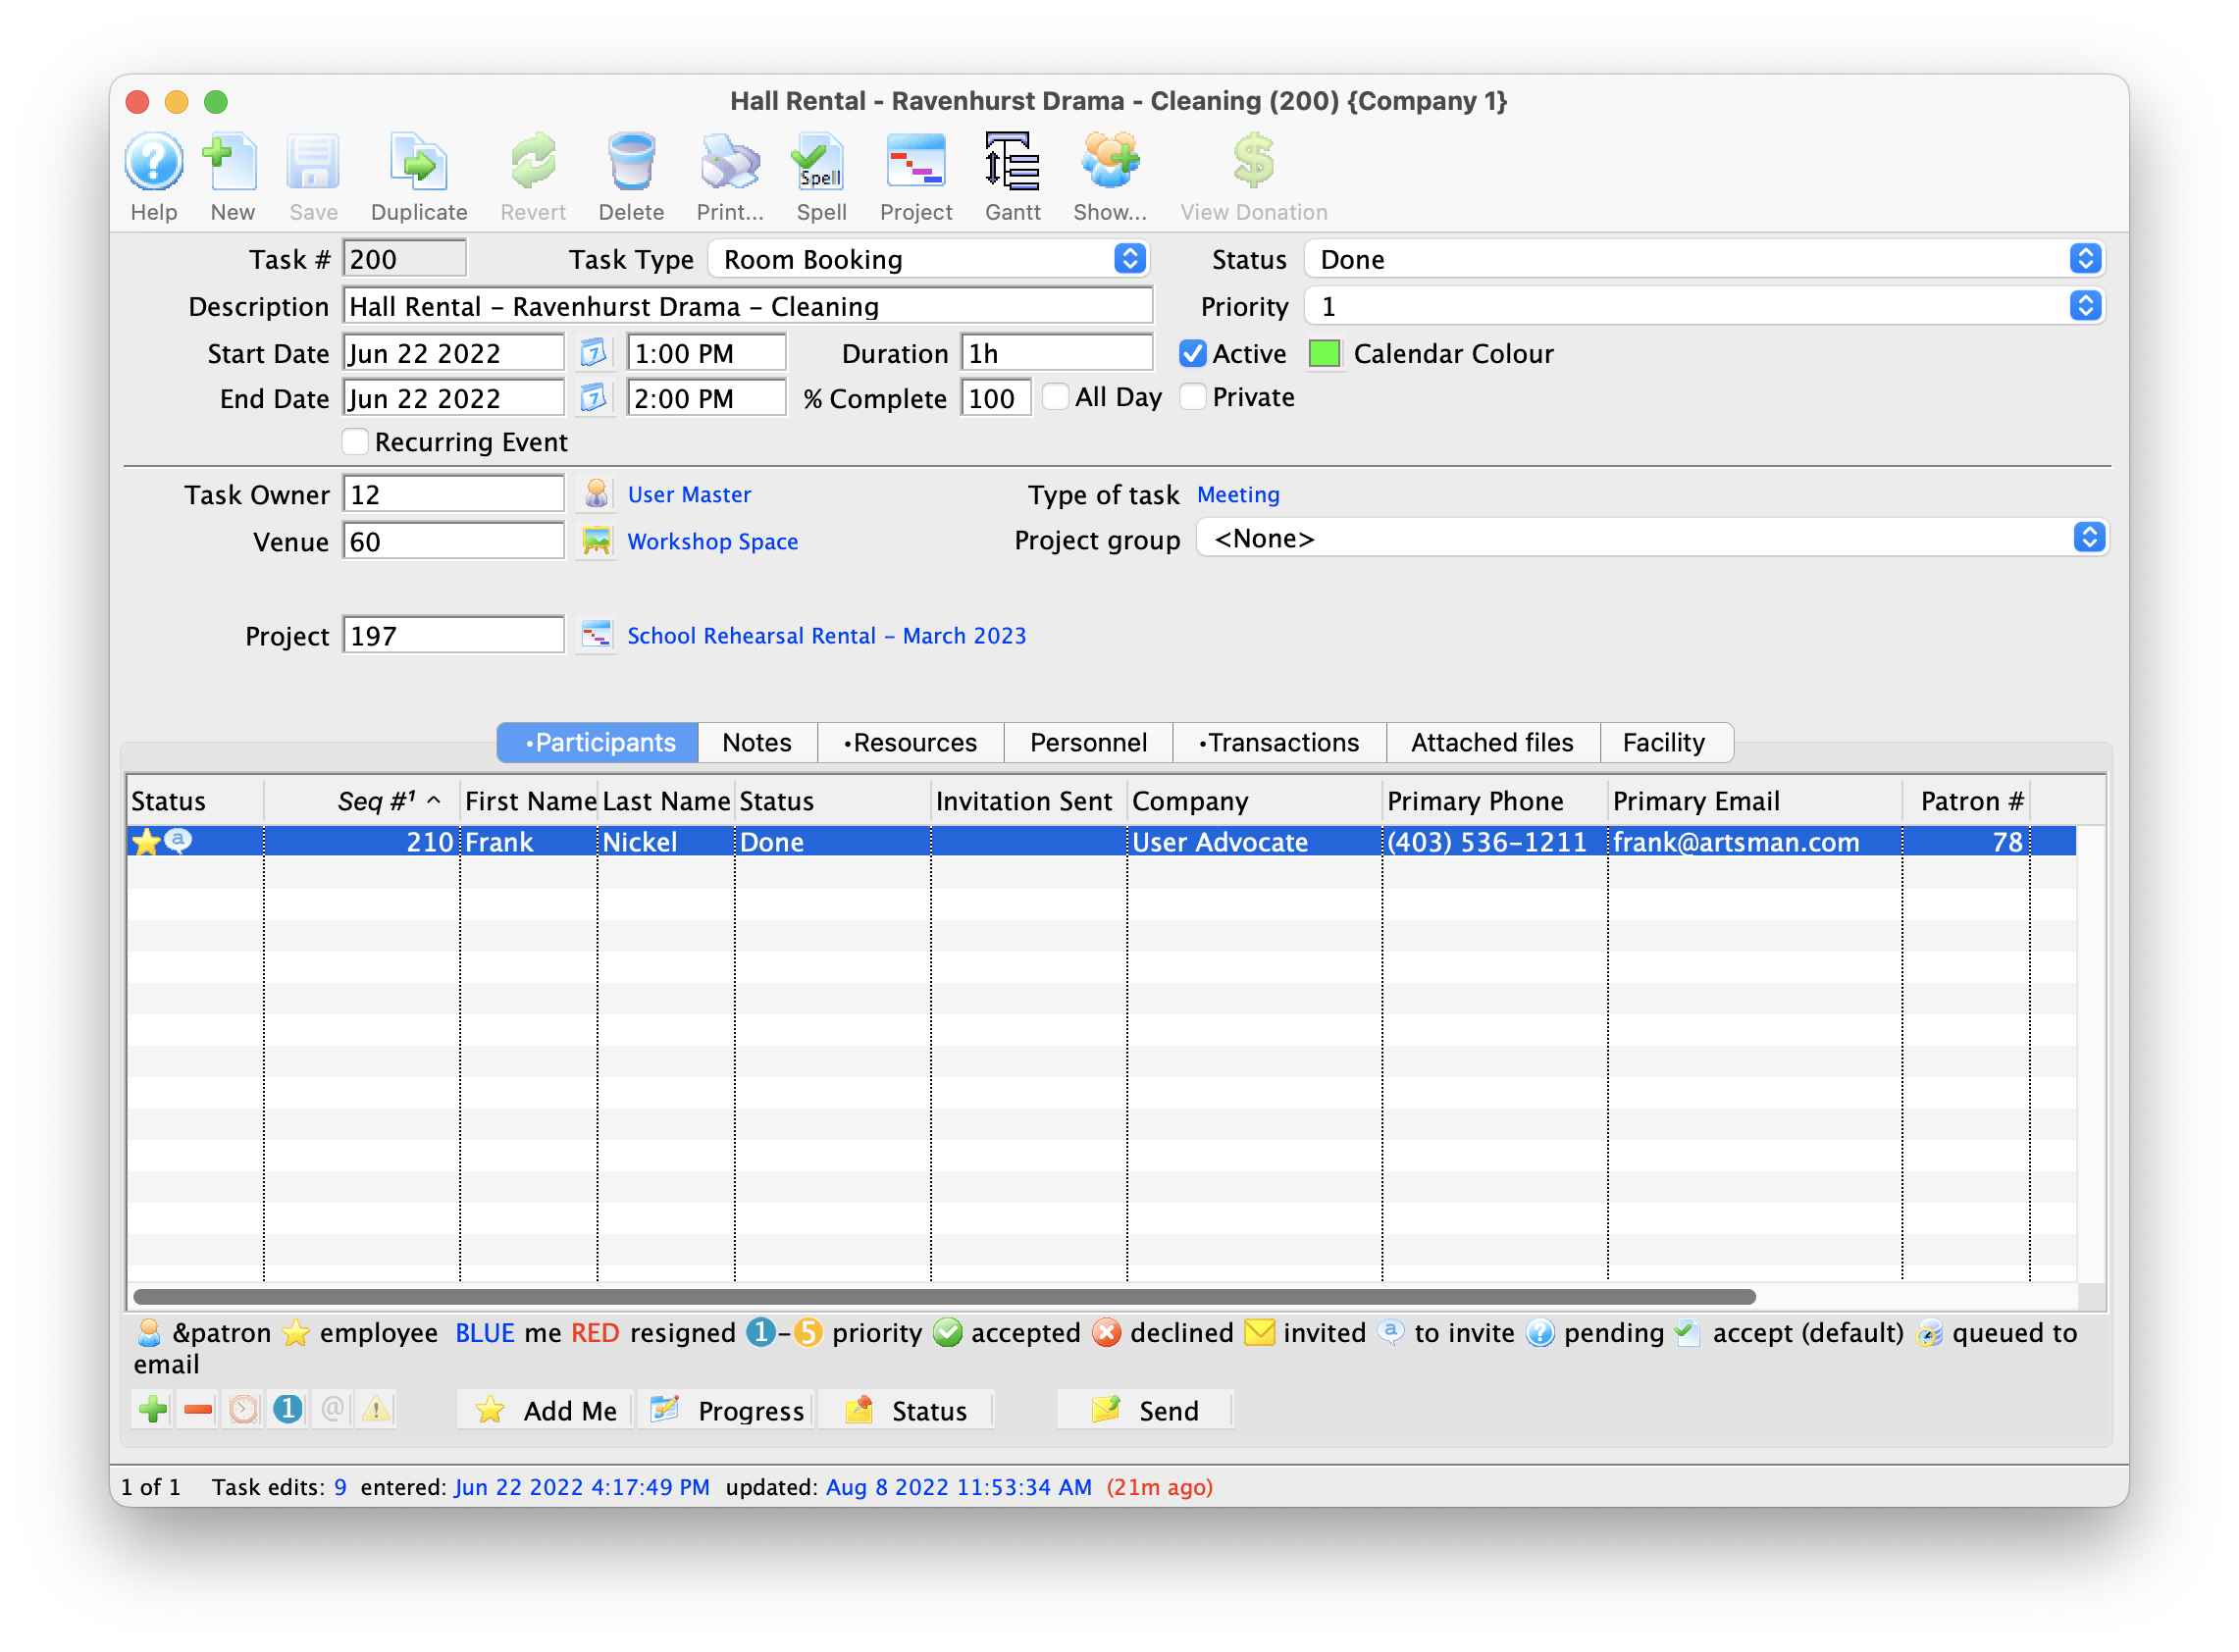
Click here for more information on the Detail Window and a description of its functions.
- Enter a start date and time.
To use the calendar and clock, click the
 button. The duration is calculated for you.
 - You can select a status and a priority from the drop-down lists.
These are helpful if there are a number of participants. You can keep track of who has done what and where they are at in the timeline.
- Choose Active or Private. This displays events differently, depending who you are.
- You can choose a Calendar Colour. Different colours can help you to keep track of different types of scheduling, or different projects.
- The task owner can be changed if necessary. By default the task owner is the person who is creating the task.
- If a Task is associated with a project, the Project number will also appear on the description.
For a complete description of this window and the changes different Task types can make, click here.