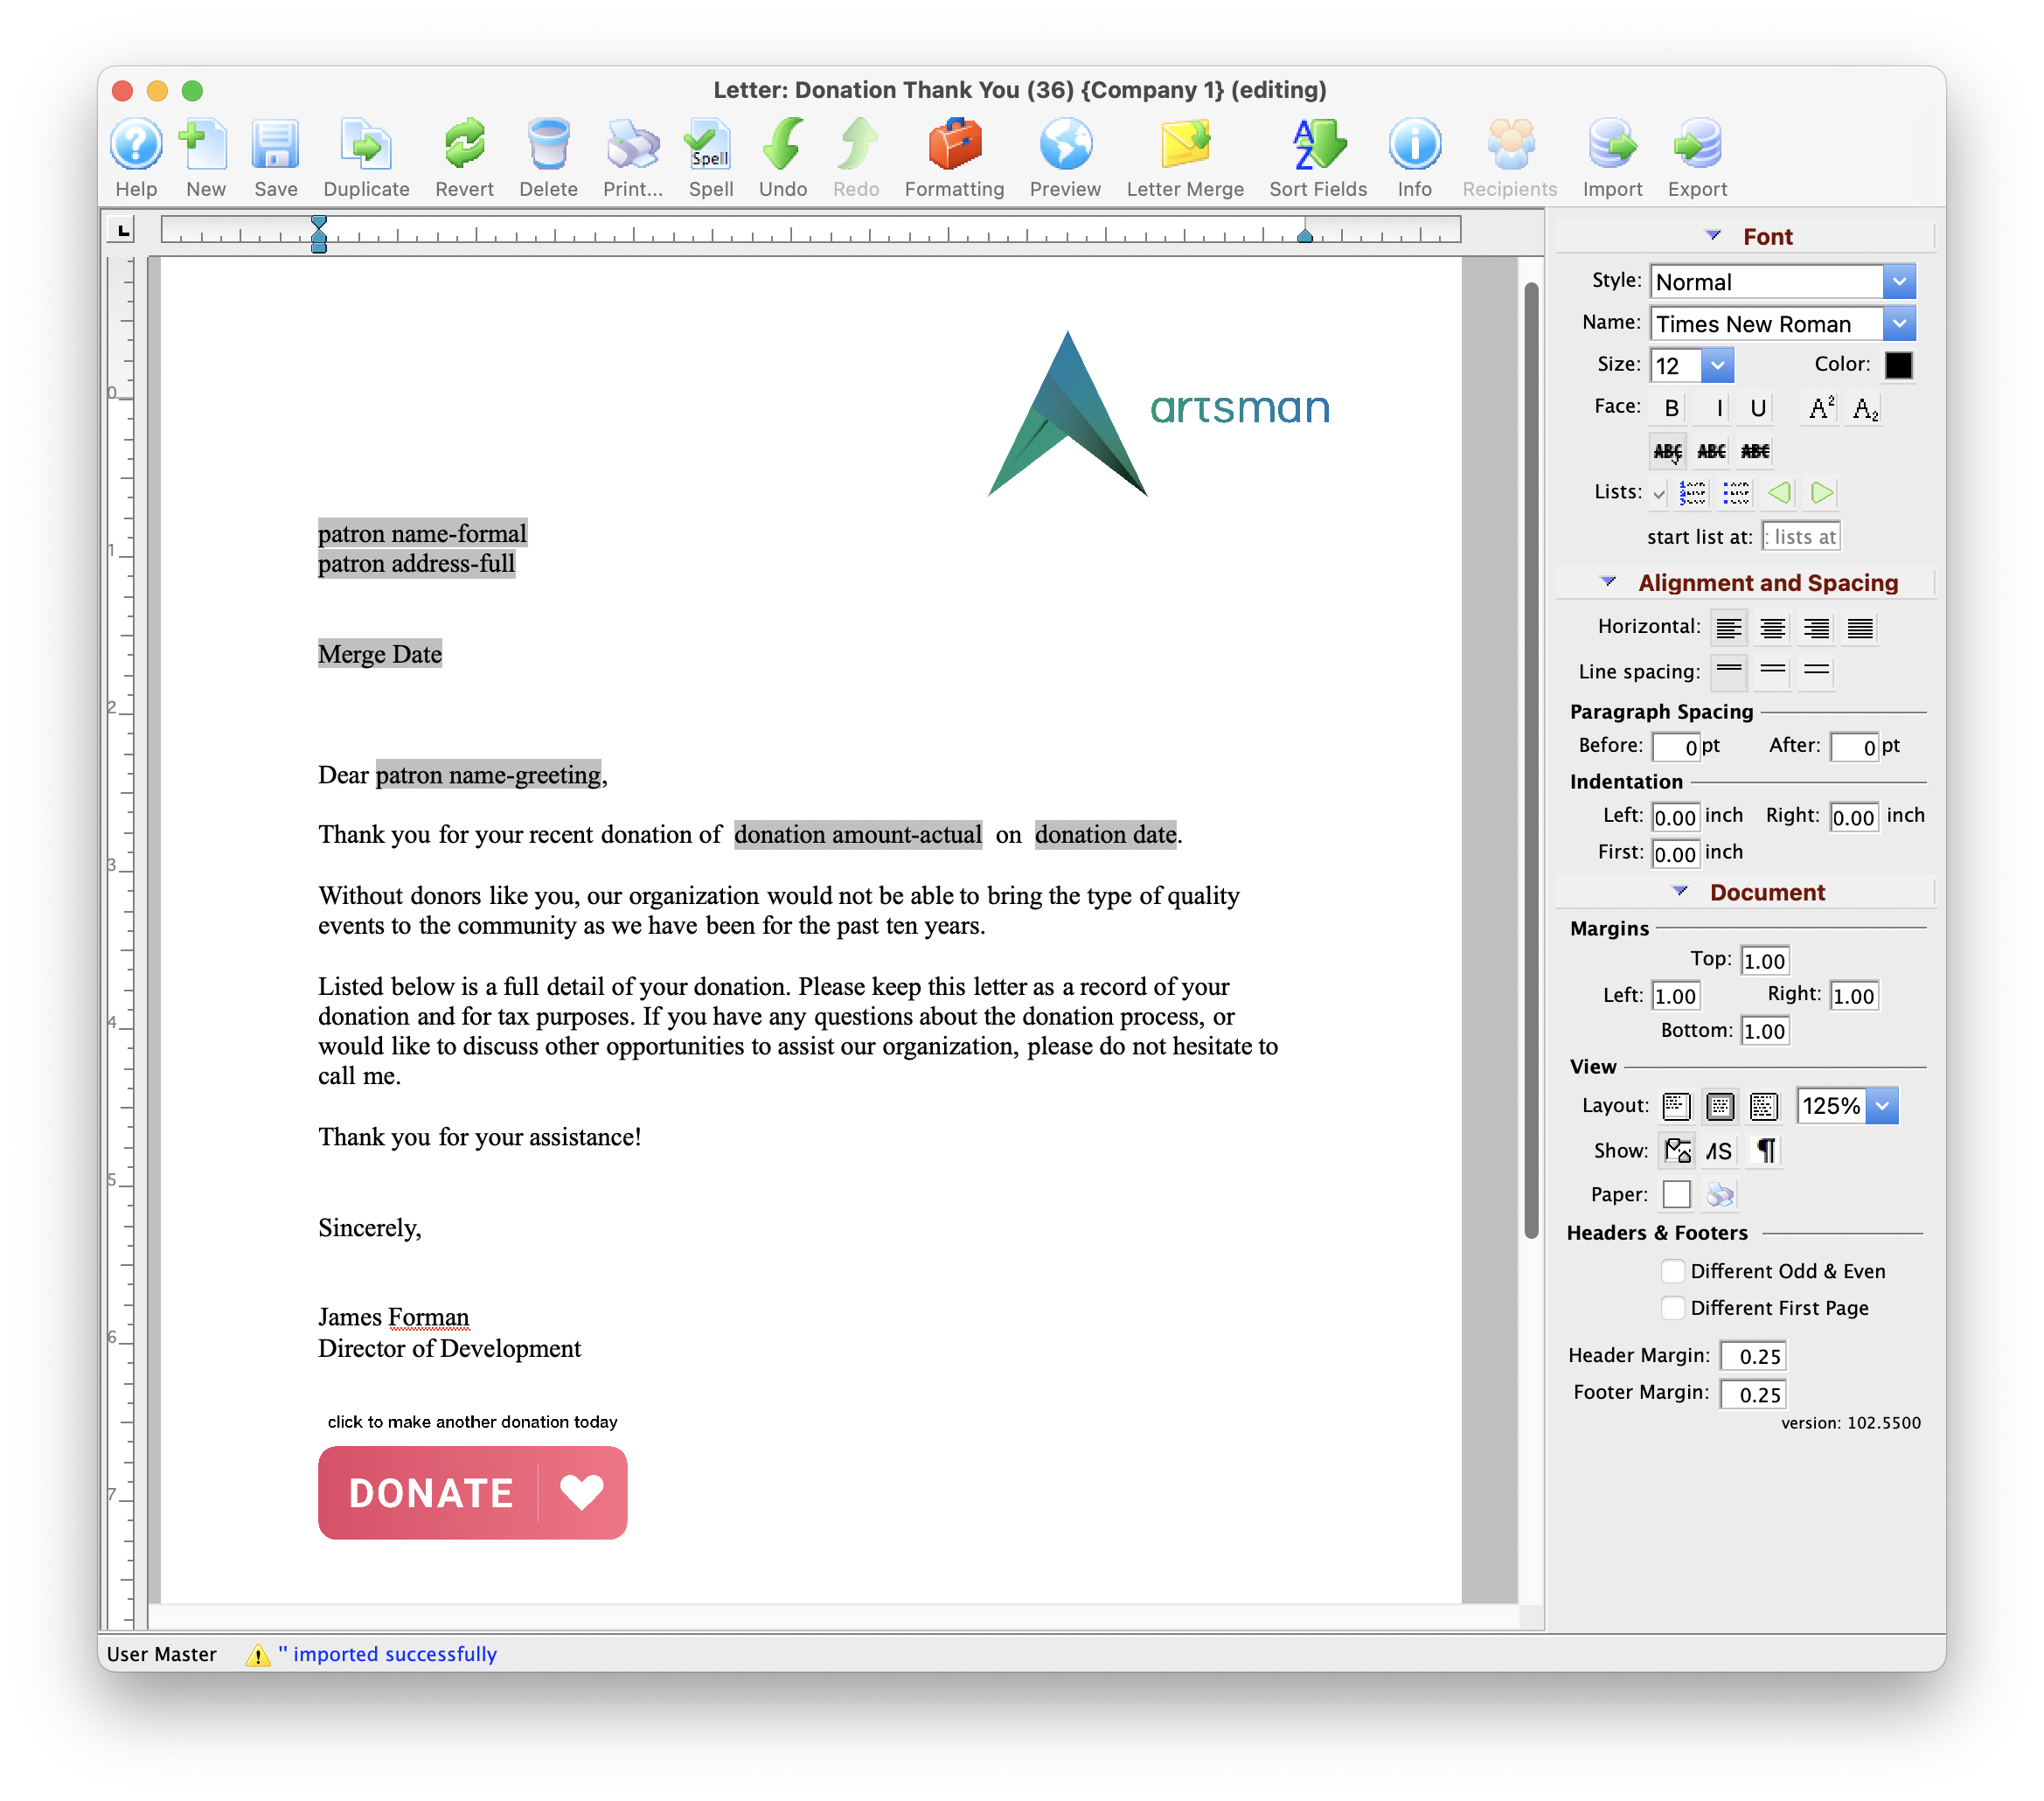
Form Letter Window
- Form Letter Menus that are activated when a letter is open.
- Word Processor Features
- Tool Palette at the right of the word processor window
- Keyboard formatting shortcuts
Quick Reference information (Quick Reference Guides, Cheatsheets and Videos) is available for some Form letter functionalty. Click here to access the Form Letter specific links.
Parts of the Form Letter Window
 |
Creates a new form letter. Click here for more information on creating a new Form Letter. |
 |
Saves the current Form Letter. |
 |
Duplicates the current Form Letter. Click here for more information on duplicating Form Letters. |
 |
Reverts to the last saved version of the letter. |
 |
Deletes the current Form Letter. Click here for more information on deleting a Form Letter. |
 |
Prints the current Form Letter. Click here for more information on printing Form Letters. |
 |
Checks the spelling of the current letter. |
 |
Undoes the last action taken on the current letter. This does not revert to the last save. |
 |
Redoes the last action that was undone. This is good for correcting an action that was accidentally undone. |
 |
Imports an RTF document to be used as a letter. Click here for more information on importing a Form Letter. |
 |
Exports the letter as an RTF document to be opened in another application. Click here for more information on exporting a Form Letter. |
 |
Opens the Form Letter Info Window. Click here for more information on the window. |  |
Opens a list of patrons who have been sent this specific letter. |
| Formatting Pallette | The fomatting pallette allows easy access to many common word processing functions. For more information on this feature, click here. |
| Context Menu | The Context Menu, also known as the right-click menu allows for adding new fields and making other adjustments to the letter. For more information about using this menu, click here. |
| Headers and Footers | Headers and Footers can be used for contracts and page numbering. For more information about using the header and footer, click here. |
New Form Letter Window
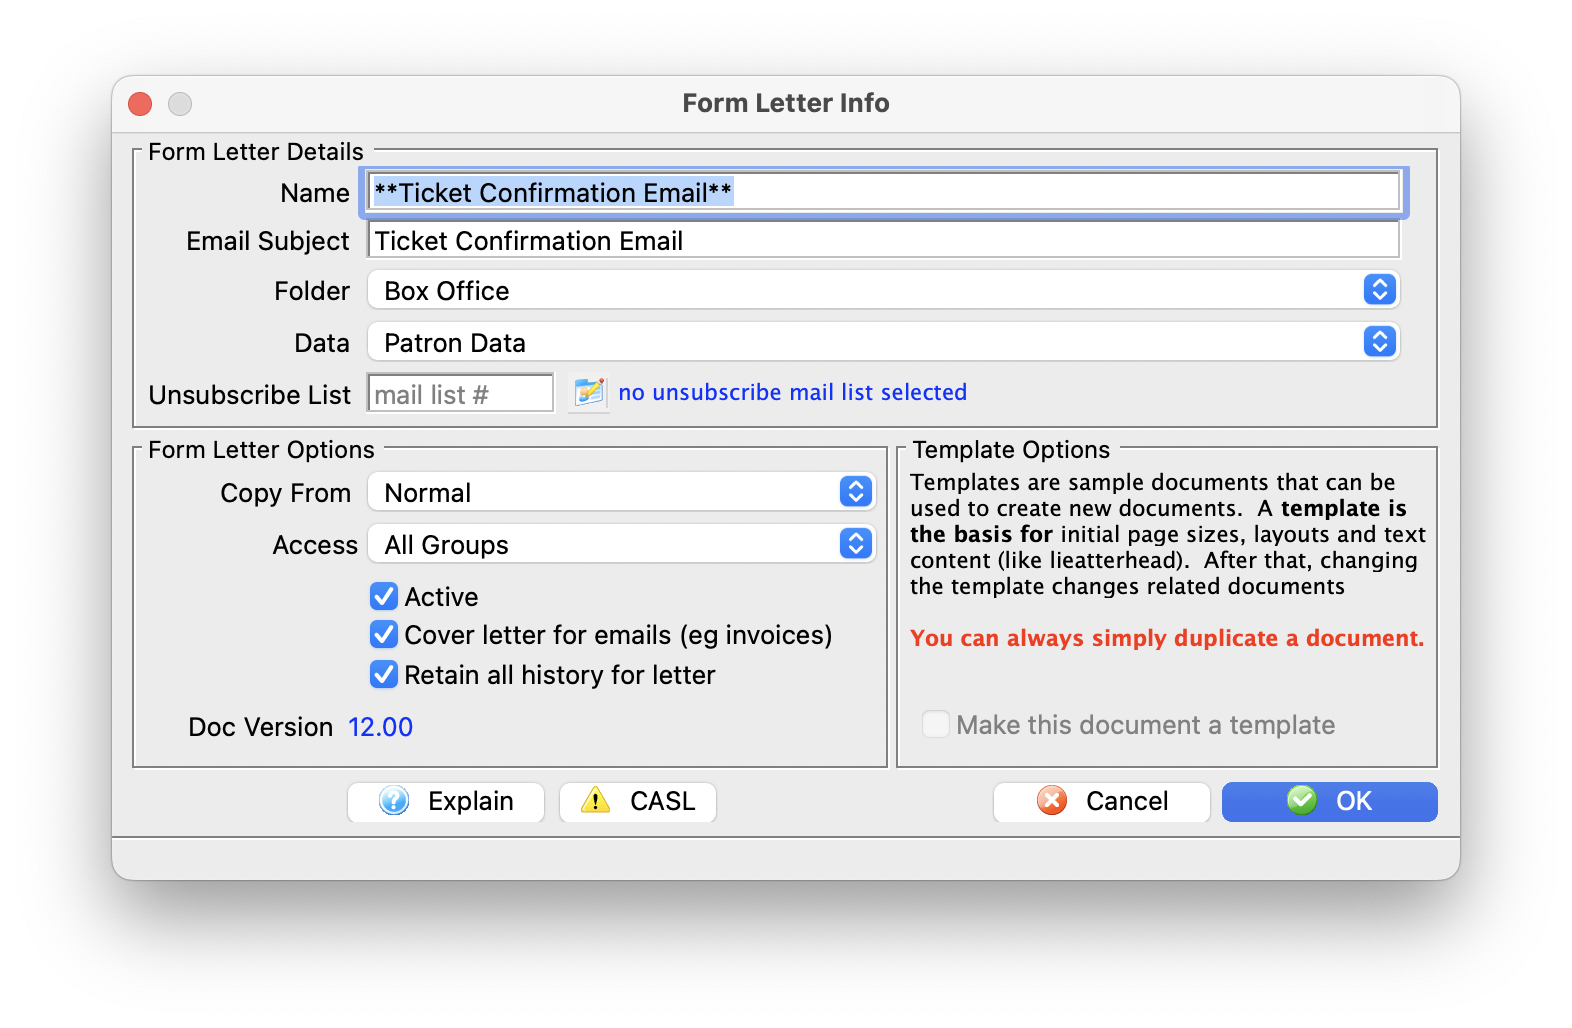
Parts of the Form Letter Info Window
Form Letter Details |
|
| Name | File name of the Form Letter |
| Email Subject | The email subject heading if the form letter is designed to be emailed to patrons |
| Folder | The Form Letter Folder where the letter will be saved |
| Data |
 The type of data that can be contained within the letter. Refer to file selection for mail lists for additional assistance as the merge fields on a letter follow the same principles as the search criteria on mail lists or reports.
 |
| Unsubscribe List |
If an email is to be sent out with an unsubscribe capability on it, you need to specify a mail list to track the unsubscribes. This allows you to pick a default for each mail list. you can use the same one for many letters if you want one common list for unsubscribe tracking.
If none is specified as a default, you can always specify one on the merge window |
Form Letter Options |
|
| Base Template | A template form letter containing some base content or formatting that will be automatically included in creating this letter. An example of a template might be a letterhead. The default 'Normal' template usually has nothing other than an empty page. |
| Access Groups | You can specify who has access to this letter using the access groups feature |
| Active | Indicates if the displayed Letter is active or not |
| Cover Letter on Invoice Emails or emailing tickets | When checked:
|
| Retain all history for letter | Cannot automatically remove any form letters from a patron's letter tab during any purge process set up in system preferences |
Template Options |
|
| Make this document a template | The current letter will be saved as a template to be used for future letters |
Context Menu
- This menu is useful for quickly doing operations.
- This is also where the option to add database merge fields is located.
 |
Some of the text formatting features are also available on the tools palette |
Parts of the Context Menu Window
| Preferences | Opens the Preferences Flyout menu. You can:
|
 |
| Format Style | This will open the Format Style window. For more information on formatting styles click here. | |
| Format Font | This will open the Format Font window. For more information on formatting fonts click here. | |
| Format Paragraph | This will open the Paragraph Properties window. For more information on formatting paragraphs click here. | |
| Bullets and Numbering | This will open the Bullets and Numbering window. For more information on bullets and numbering click here. | |
| Page Size | This will open the Page Size window. For more information on page size click here. | |
| Insert Document Object | This will display the sub-menu for inserting a document object. For more information on inserting objects click here. | |
| Insert Database Field | This will display the sub-menu for inserting a database field in the letter. For more information on inserting database fields click here. | |
| Insert Word Processor Field | This will display the sub-menu for inserting a word processor field into the letter. The word processor fields are default fields that are commonly used when creating a document. Some examples are time and date formats. When using a field, the field will automatically update each time the document is opened or printed. | |
| Undo | This will undo the last action taken. If there is no action to be undone, then it will say "Can't Undo." | |
| Redo | This will redo the last action that was undone. If there is no action to redo, then it will say "Can't Redo." | |
| Cut | This will cut the selected text or objects to the clipboard. | |
| Copy | This will copy the selected text or objects to the clipboard. | |
| Paste | This will paste any text or objects from the clipboard into the letter. | |
| Clear | This will clear the selected text or objects. | |
| Select All | This will select all text and objects in the document. |
 .
. Headers and Footers
A header or footer is text or graphics that is usually printed at the top or bottom of every page in a document. A header is printed in the top margin; a footer is printed in the bottom margin.
Headers and footers can be as simple as the document title and a page number, but you can create headers and footers that contain graphics, multiple paragraphs, and fields. You can specify a different header or footer for odd and even pages or use a different header or footer for the first page of a section or document.
.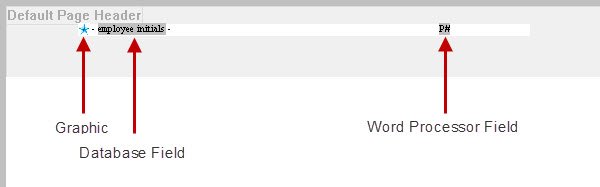
You can insert the following into Headers and Footers:
- Text
- Graphics - pasted only and one text line high
- Database Field - Using the right-click context menu
- Custom Field - Using the right-click context menu
- Word Processor Field - Using the right-click context menu
Headers and footers can also have formatting applied to them.
Adding a Merge Field
|
These steps indicate how to add an individual field. Afterwards, you can make calculated fields with a few additional steps. |
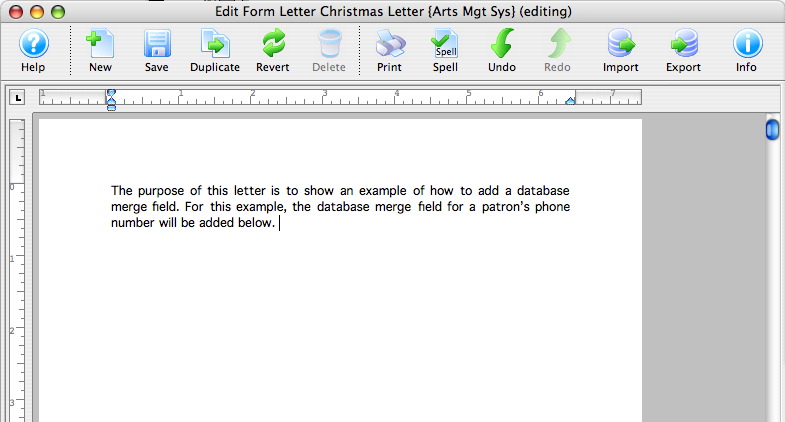
When creating a Form Letter, the purpose is typically to pull data from Theatre Manager automatically so that letters or e-mails can be sent to patrons. To do this, database fields are placed in a generic Form Letter.
- In the Form Letter window, place the cursor in the position that the database field is to be located.
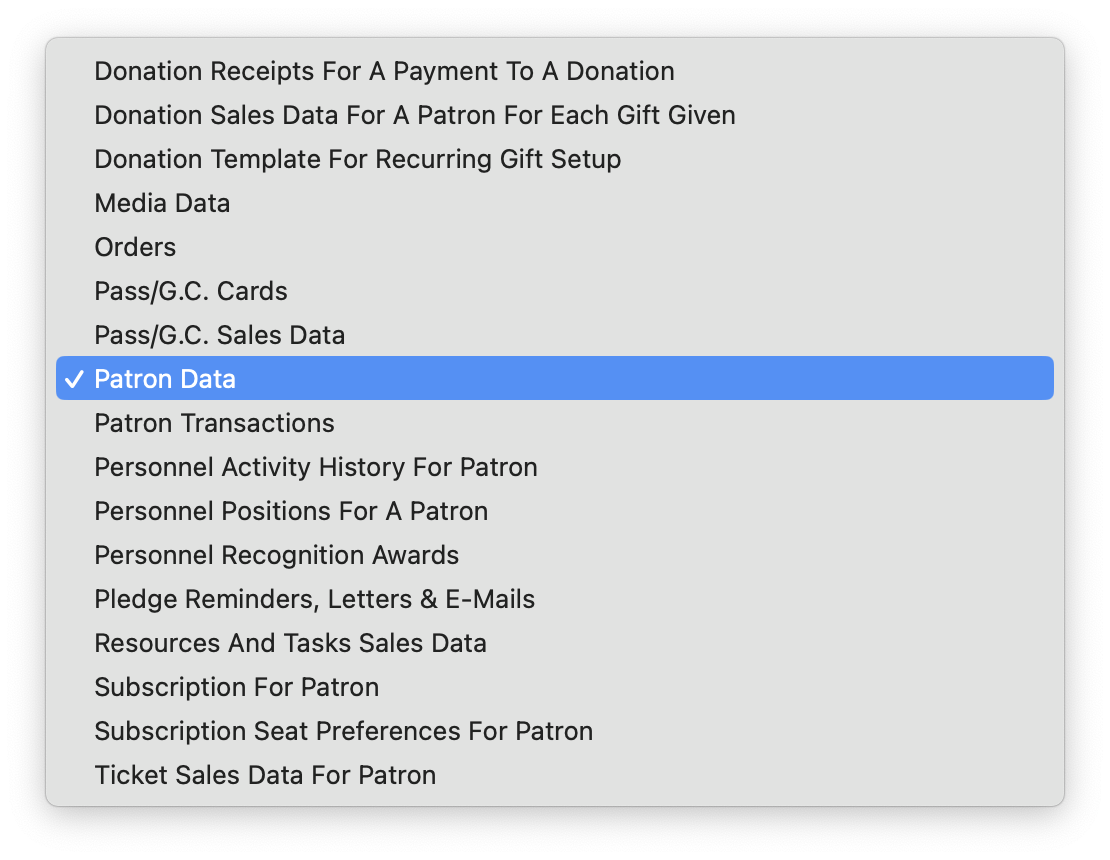
- Right-click to open the Context menu and go to the Insert Data Base Field option.
A list of database categories will appear. For more information about the Context menu click here.

- Select the category that the database field resides under.
A sub-menu will open showing all of the database fields that reside in the category.

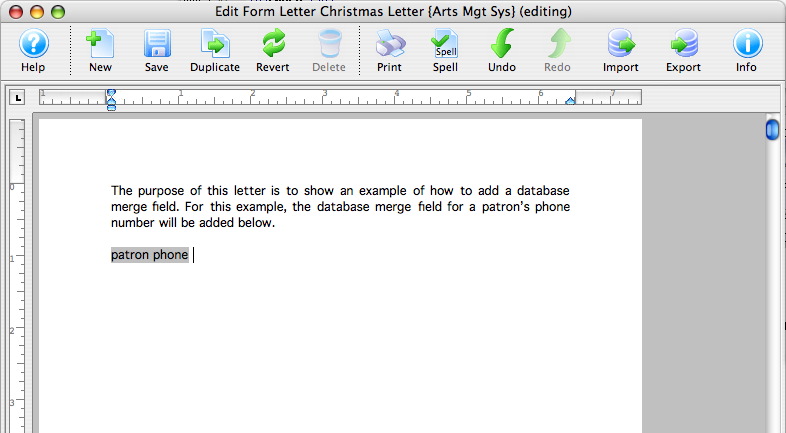
- Click on the field to be used in the letter.
The field will now appear in the letter.
- Repeat these steps for all merge fields that need to be entered.
If a wrong field is selected, simply click on the merge field in the letter and press the DELETE key on the keyboard.
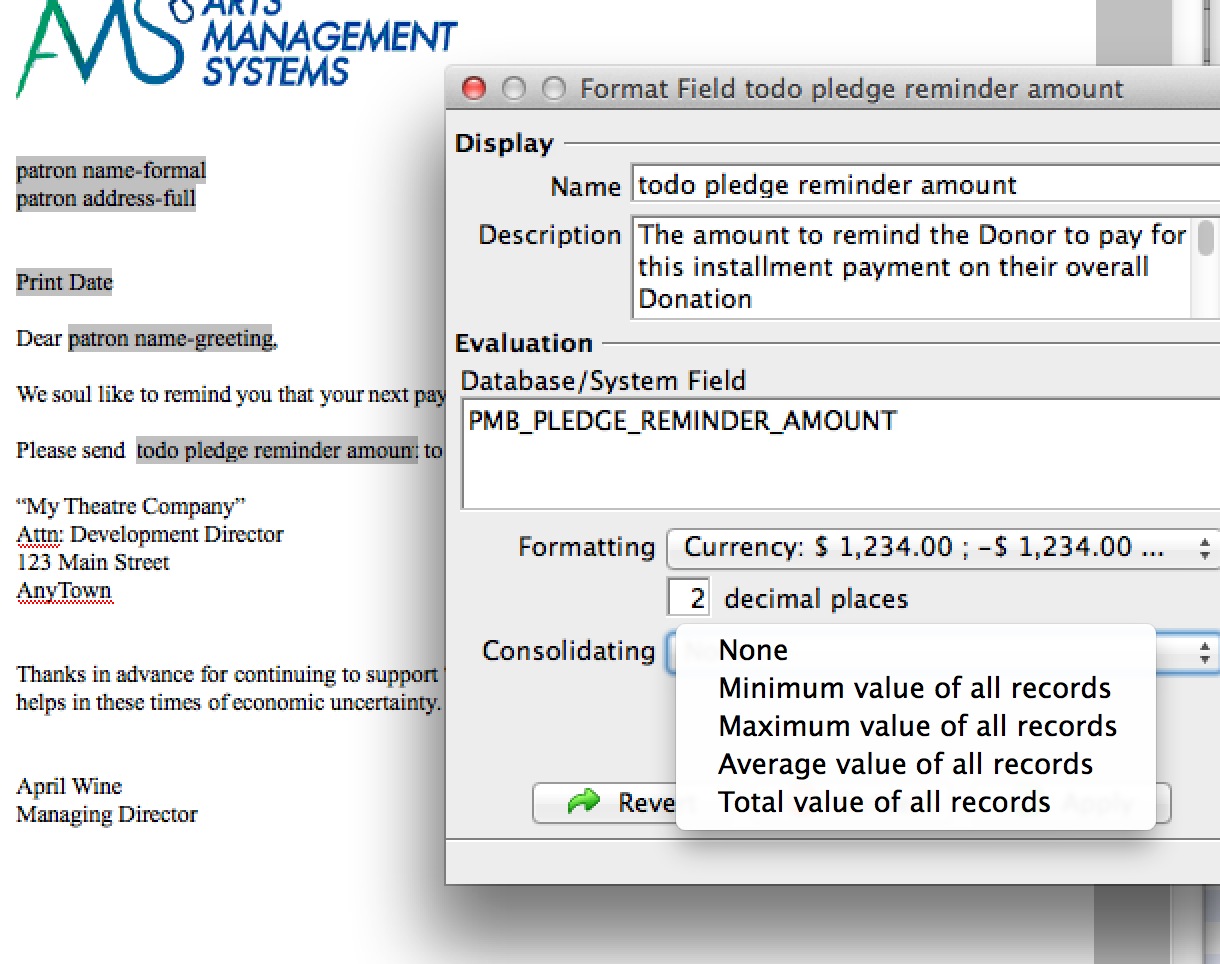
Formatting a Merge Field
Most options may be self explanatory as they format the field by date, currency, etc.
The Consolidate option has an important meaning depending on the option picked when actually merging letters.
If the data field is in a row field table, each record will appear individually. If the field is OUTSIDE the row field, then the use of Consolidate has the following effect:
- No Consolidating: The FIRST record found in the sort order appears in the non-table fields area. This can be used to advantage such as to show the 'last' event purchased along with tickets --or-- the most recent amount given along with the total given.
- Consolidating: anything you are totalling, averaging or using minimum or maximum causes the field to appear 'orange'. It will be consolidated according to the total, average, maximum or minimum.